


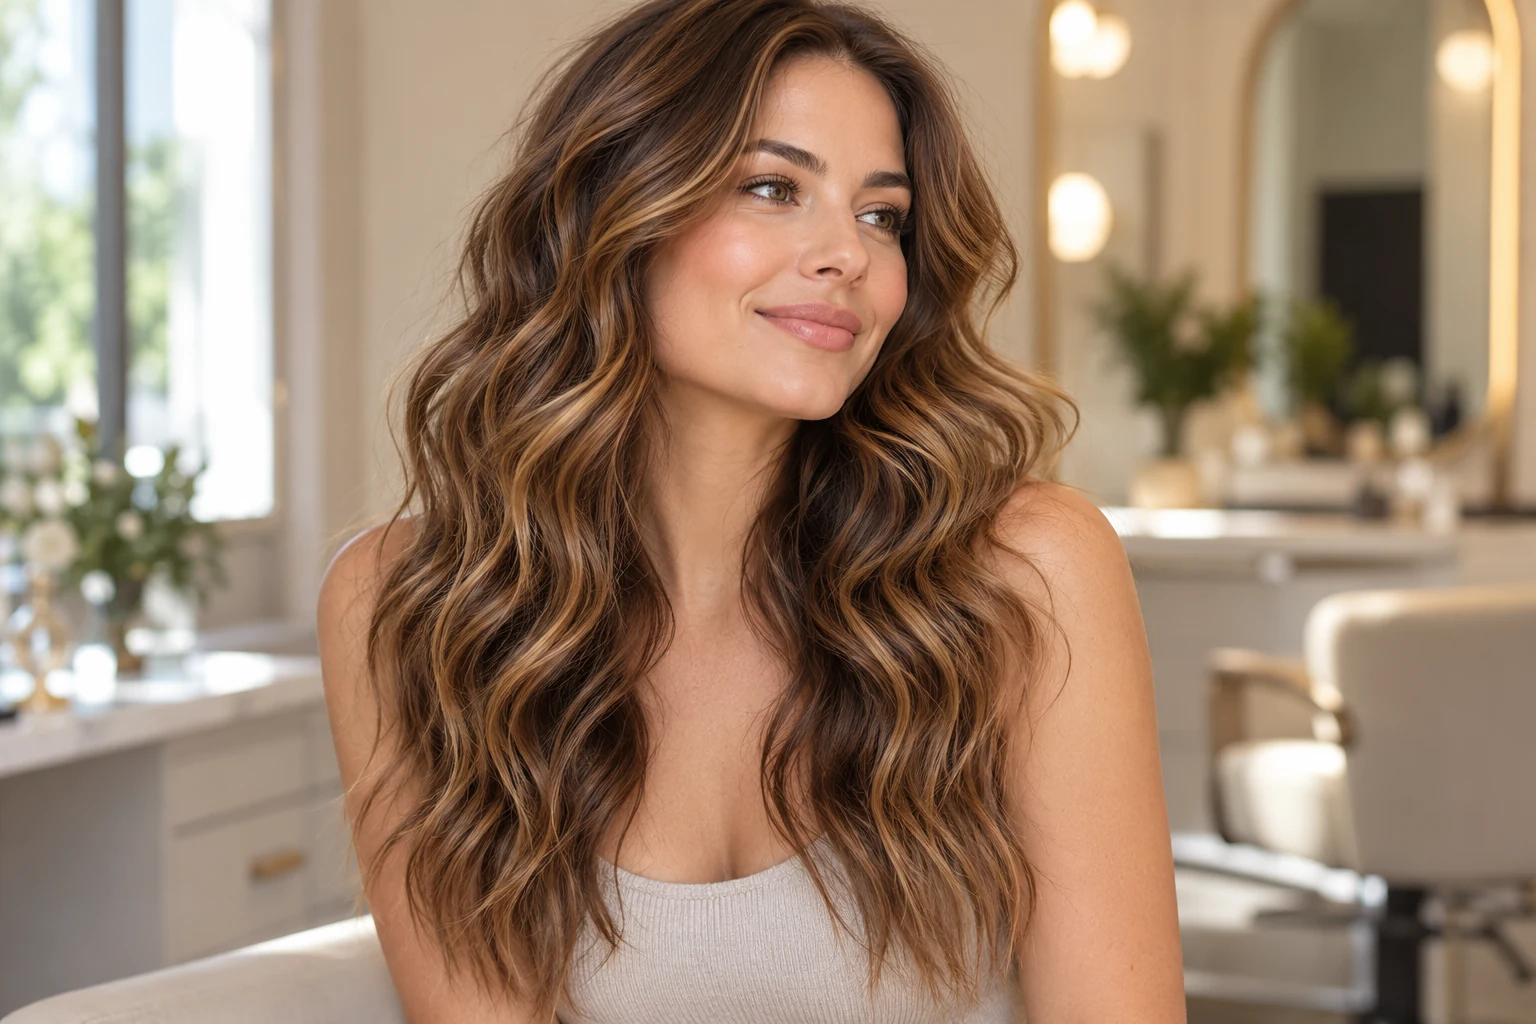
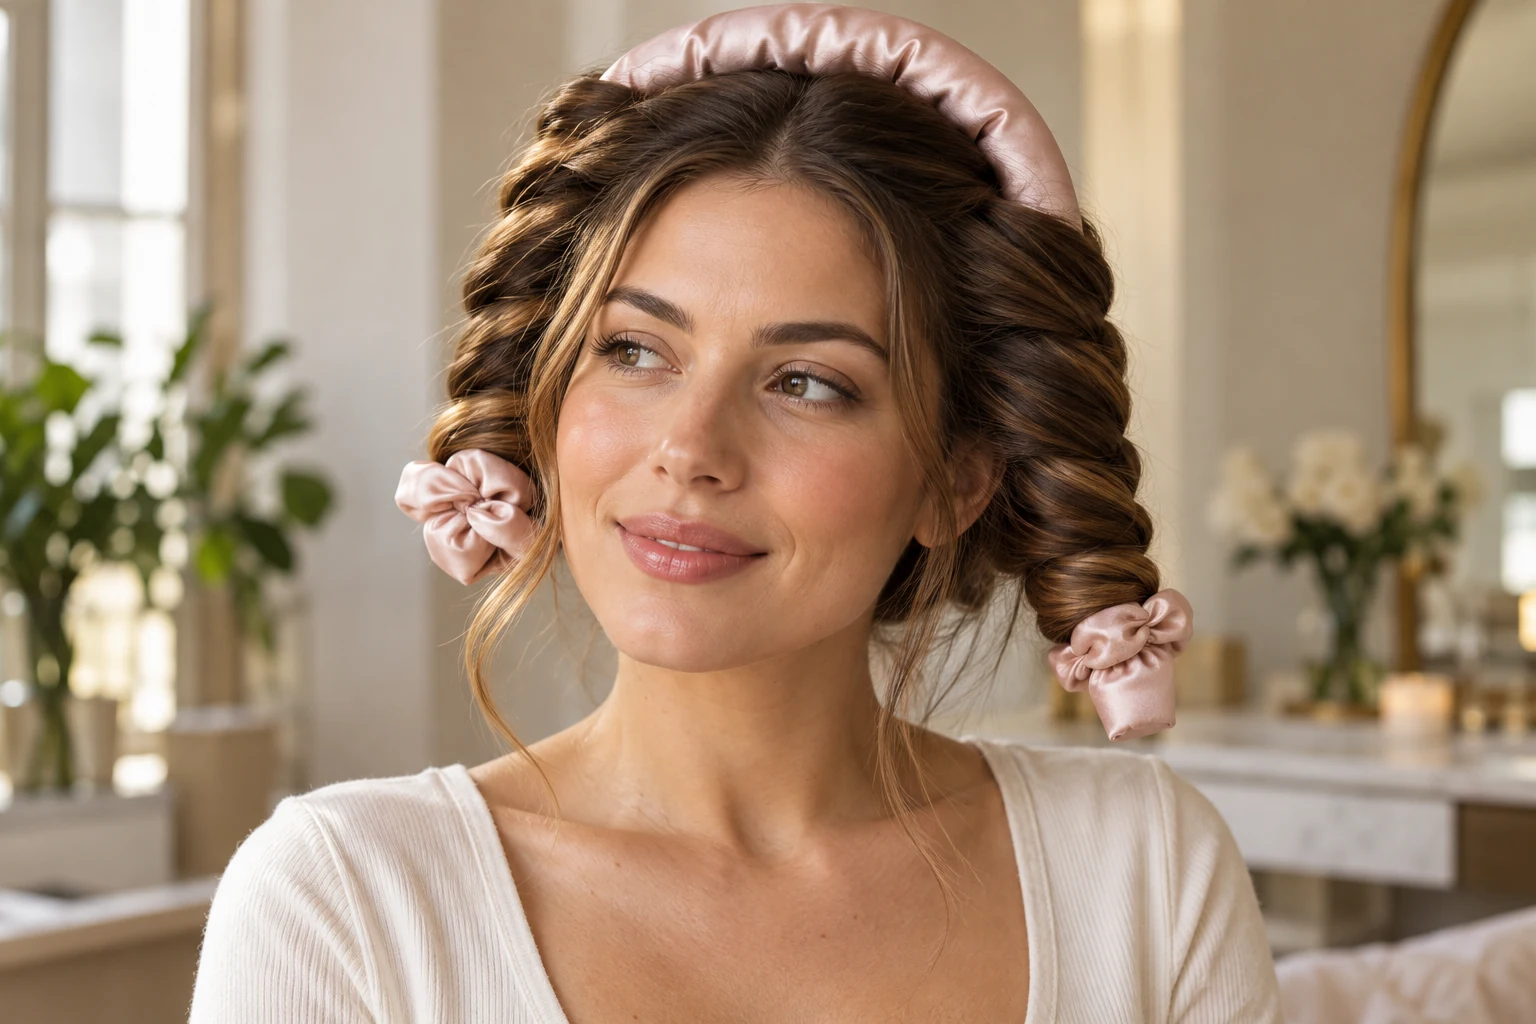
Heatless curls use a supported shape rather than a heated styling tool. For a soft-rod set, divide the hair into two sides, wrap sections around the rod, secure the ends comfortably and release according to the tool’s directions once the set is ready. Start with a daytime trial so you can check the wrapping without rushing to sleep.
This is a wrapping guide, not a promise of one particular curl. Hair length, texture, the rod’s diameter and how the sections sit all change the finish. A smooth bend on one person may look like a looser wave on another.
Choose a starting moisture level for your tool
Read the instructions that came with the rod. Manufacturer guidance is not identical across every fabric and design. Kitsch’s velvet set, for example, permits dry or damp hair and states that dry hair works best for that product. Do not treat a percentage of dryness from another tutorial as a universal rule.
Check the middle and underside of a section, not just its surface. If the hair is still wet inside when you are ready to release it, reassess the starting moisture and section size on your next attempt. More water is not automatically a better way to obtain a stronger result.
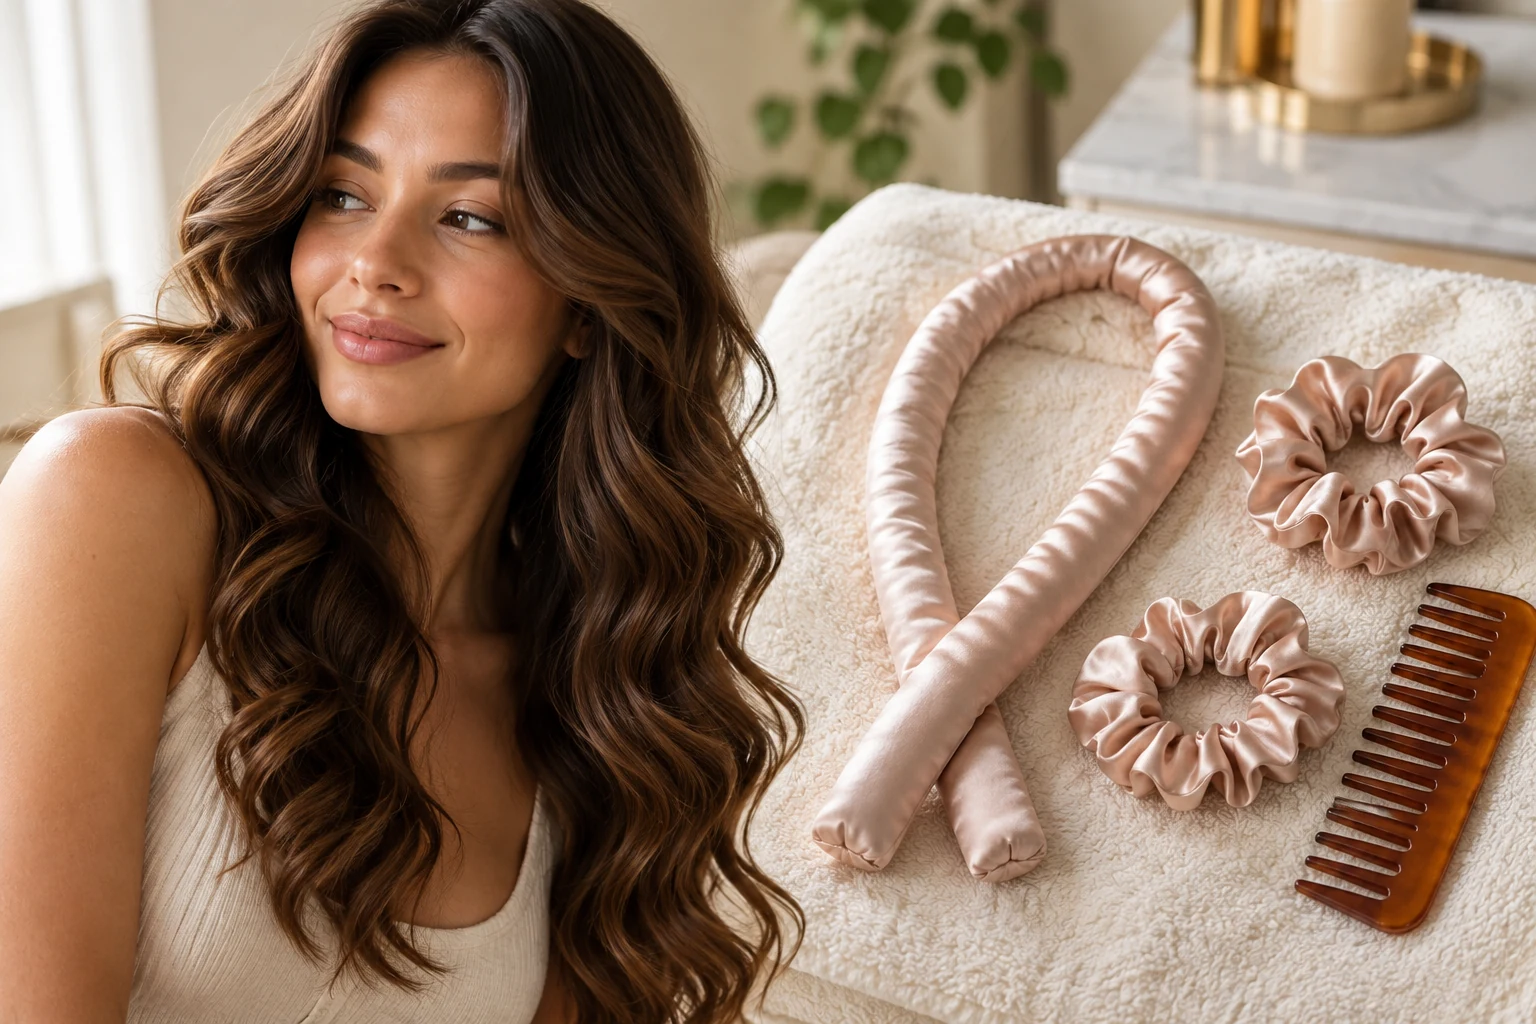
What you need
- A soft curling rod with its own use instructions.
- The recommended anchor and soft end ties.
- A mirror and clips for hair you are not working on.
- An optional setting product used in the amount and on the starting hair condition its label specifies.
Use a rod long enough to support the hair you are wrapping. If long ends run off the tool or short layers cannot reach it, adjust the tool or method rather than pulling harder.
Wrap the first side
- Prepare the hair. Remove tangles gently using a method appropriate to your texture. Do not wind a knot into the set.
- Place the rod. Position it across the top as the manufacturer directs. Anchor it without a clip pressing into the scalp.
- Separate the two sides. Clip one half away. Keep the working side easy to see.
- Take a front section. Lay it smoothly around the rod, away from the face if you want an outward opening.
- Add nearby hair as you continue. Gather the next section into the working length, then make the next wrap. Keep the placement orderly rather than crossing loose ends over one another.
- Support the ends. Wrap them flat and secure with the supplied tie. If they keep escaping, try a smaller amount of hair per wrap or a tool better matched to the length.
Repeat the process on the second side, mirroring the direction relative to your face. Pause in front of the mirror to check both sides before leaving the set in place.
Set, release and separate
Follow the tool’s instructions for setting time and permitted wear. A daytime method is an option if the rod or clips are uncomfortable against a pillow. Do not accept a headache or scalp pulling as the price of a better curl.
Remove the ties first. Support the wrapped lengths and loosen them rather than dragging the rod through a closed coil. Separate with your fingers gradually so you can stop at the amount of definition you like. Avoid brushing the entire set before you have seen what a lighter separation does.
A small troubleshooting log
| What happened | What to change on the next trial |
|---|---|
| The two sides differ | Compare starting section size and wrapping direction |
| The ends are straight or kinked | Check that the ends lie flat and stay on the rod |
| The set is still damp | Start drier or divide the hair into smaller supported sections |
| The rod shifts | Check the recommended anchor and placement |
| The shape falls quickly | Record the starting moisture, product and release point; change one variable at a time |
Keep one quick note and, if useful, your own consistent-angle photo. That comparison is more useful than changing the rod, product and moisture level all at once.
Where this fits in your styling routine
Heatless describes the absence of a hot tool in the set; it does not mean tension and rough handling become harmless. The American Academy of Dermatology recommends loose styles and avoiding pulling while styling. If the method repeatedly catches your hair, choose another approach or get a demonstration suited to your texture.
Our long haircut guide helps you identify layers that may escape the wrap. For the shape you are aiming for, compare the references in our 90s haircut guide.
Quick questions
Must I sleep in a heatless set?
No. Use a daytime set when the tool allows it. A method that fits your routine is more useful than one you cannot wear comfortably.
Will one rod work on a short bob?
Only if the sections reach and stay around it. Short hair may need a different rod size or several smaller supports.
Will it permanently change my texture?
No. This is a temporary styling arrangement, not a chemical texture service.









Leave a comment