



To fishtail braid, split the hair into two main sections. Take a small piece from the outside of one section, cross it over and join it to the inside of the other. Repeat from the opposite side. The braid grows from alternating small transfers, rather than three large strands swapping places.
Make it work for you
Choose your starting point
Select the situation closest to yours for a practical next step.
I am learning the pattern: Start with a low side ponytail and moderately small transfers. Leave the base tie in until the sequence feels familiar.
My hair has many short layers: Try a half-up fishtail or start lower. Let pieces that cannot reach stay loose rather than pulling harder.
I want a finer herringbone finish: Use smaller, similarly sized transfers on alternating sides. Expect more repetitions, and pause when your hands tire.
Your preparation card
Check before you start
Tick each item as you work through it. Your selections stay on this page and reset when it is reloaded.
0 of 5 complete
Start with a low ponytail for easier handling
A low side ponytail lets you see the working area and rest your arms. Use a gentle temporary tie at the base if it helps you keep the first split stable. You can leave that tie in place; removing it is an optional finish, not a requirement.
Detangle first. Separate two main bundles of roughly equal size and hold one in each hand. Keep the unused lengths separate so they do not knot beneath your fingers. If the bundle is too thick to handle, practice on a small half-up section before attempting all your hair.
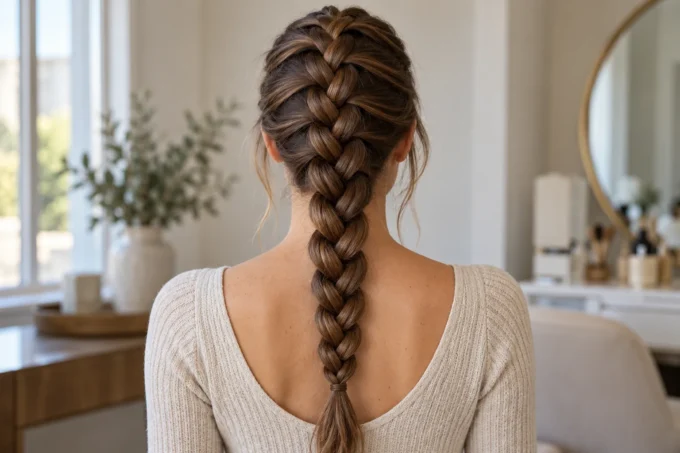
A fishtail is different from the scalp-pickup movement in our French braid guide. Learn this basic free-hanging version before combining techniques.
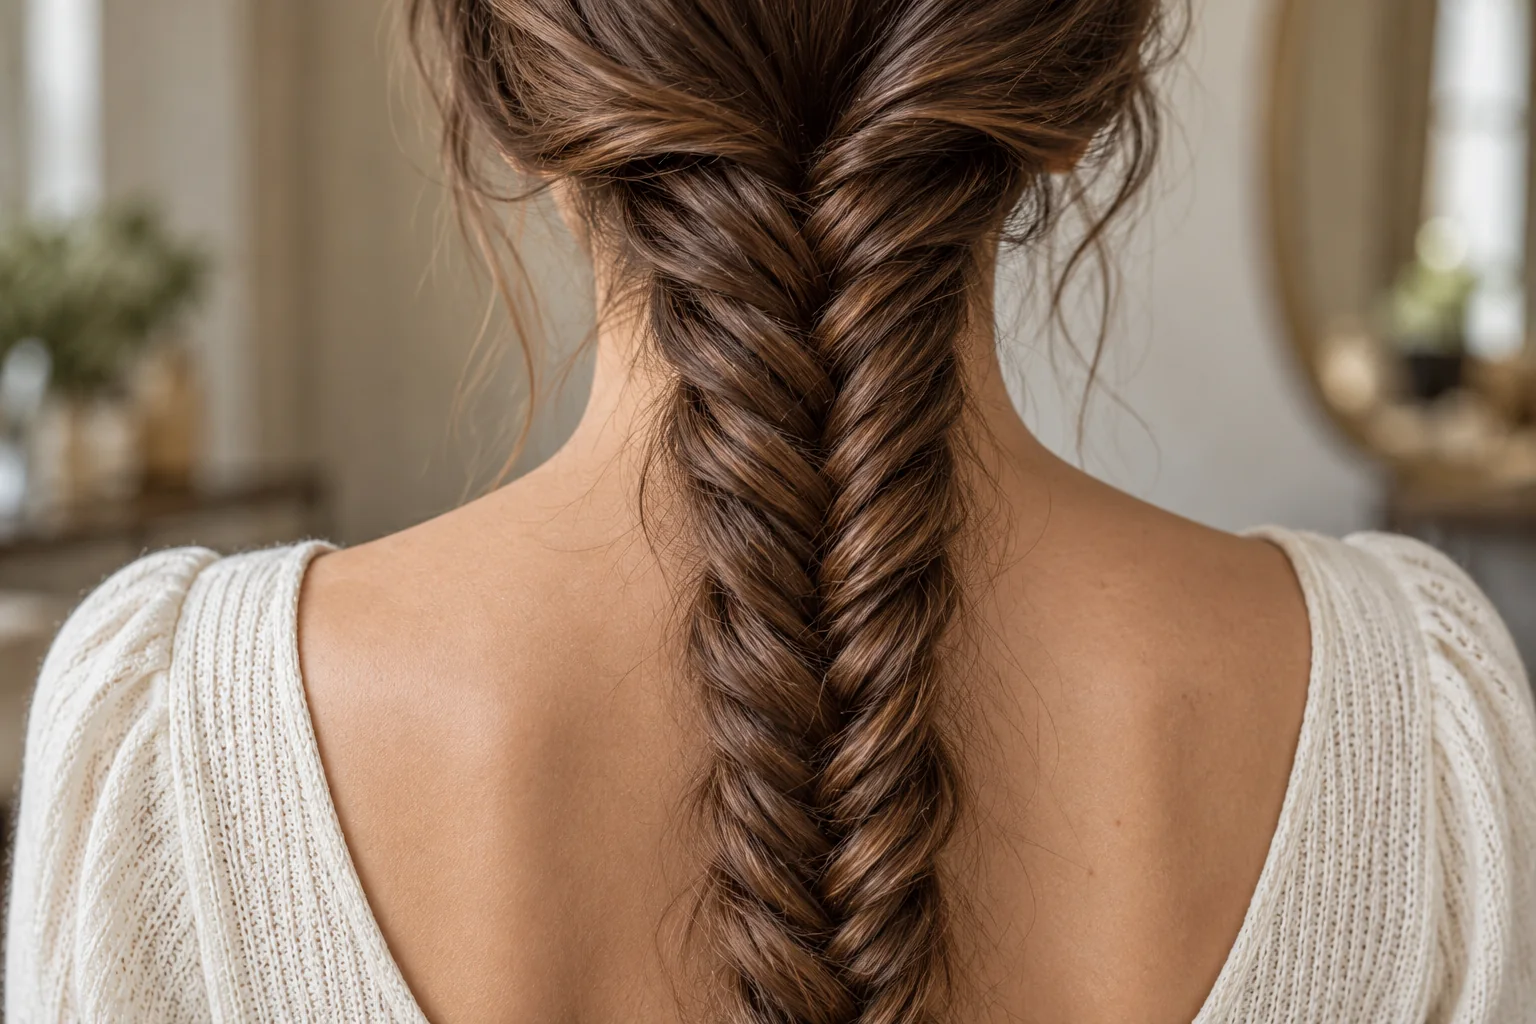
The repeatable transfer sequence
- Split: identify the left and right main sections.
- Take from the left outside: isolate a small piece at the outer edge of the left bundle.
- Cross and join: bring that piece over the left bundle and join it to the inner edge of the right bundle.
- Take from the right outside: isolate a similarly sized piece at the outer edge of the right bundle.
- Cross and join: bring it over the right bundle and join it to the inner edge of the left bundle.
- Repeat: alternate sides, moving your grip down as the braid grows.
- Finish: leave enough tail to hold securely and fasten it with a suitable hair tie.
After every transfer, there are still two main bundles. If you find yourself holding three permanent sections, pause and reset the split. The little transfer becomes part of the opposite bundle each time.
Choose a workable transfer size
Smaller pieces make a finer herringbone pattern but require more repetitions. Larger transfers are faster and create a chunkier pattern. The useful goal for a first attempt is consistency, not the smallest possible strand.
Watch the width of each transfer at the point where you pick it up. A thin piece on one side and a large handful on the other can produce an uneven edge. Highlights can make the crossings easier to see, but the technique works on solid-colored hair too.
Keep your hands near the last completed transfer. Pulling the bundles far apart at every step can make the braid tiring and uncomfortable. Hold enough tension to maintain the structure without tugging the scalp.

Troubleshoot before starting again
- The braid looks like a regular plait.
- Check that you are transferring small outside pieces between two bundles, rather than rotating three permanent sections.
- The pattern disappears.
- The transfers may be too large or getting merged before crossing. Slow down for several repetitions and keep the edges distinct.
- The braid twists sideways.
- Check your hand position and whether one side is consistently being pulled farther away. Bring the working area back toward the center.
- The ends tangle while you work.
- Pause, keep the completed section secure and separate the loose tails gently. Do not drag a knot into the next transfer.
- Short pieces escape.
- Try a lower start, a smaller half-up section or a softly textured finish. Tightening cannot make a short layer reach farther.
Finish and take it down gently
Secure the braid before easing the edges. If you want a wider look, support the center and gently loosen a few outer loops. Stop if the shortest pieces begin to slip. A neat narrow braid is a complete finish on its own.
To remove it, release the end tie and reverse the weave from the bottom upward. Separate small sections patiently instead of pulling the two bundles apart from the top. Check for remaining knots before brushing.
For an easier alternative with a different structure, try a simple three-strand plait. For a twist effect, the rope method uses two continuously twisted sections rather than many small transfers.
Common questions
Does a fishtail braid use two or three sections?
Two main sections. Small pieces are transferred between them, so the working piece is temporary rather than a third permanent bundle.
Can I do it on shoulder-length hair?
Try a small half-up section first. Success depends on whether the shortest pieces can reach the route and stay in the weave.
Do I have to pull the braid apart?
No. Widening the edges is optional and can make short layers escape. Secure the end first if you try it.
Related guides
- How to French Braid: Hand Placement for Beginners
- Claw Clip Hairstyles: Twist, Fold and Secure Your Hair
- Long Haircuts for Women: Layers, Shape and Maintenance
Sources and further learning
External references explain the underlying techniques or haircut terminology. The chooser is a starting point for practice or a salon conversation. Images are AI-generated references, not a documented step-by-step salon demonstration.






Leave a comment