


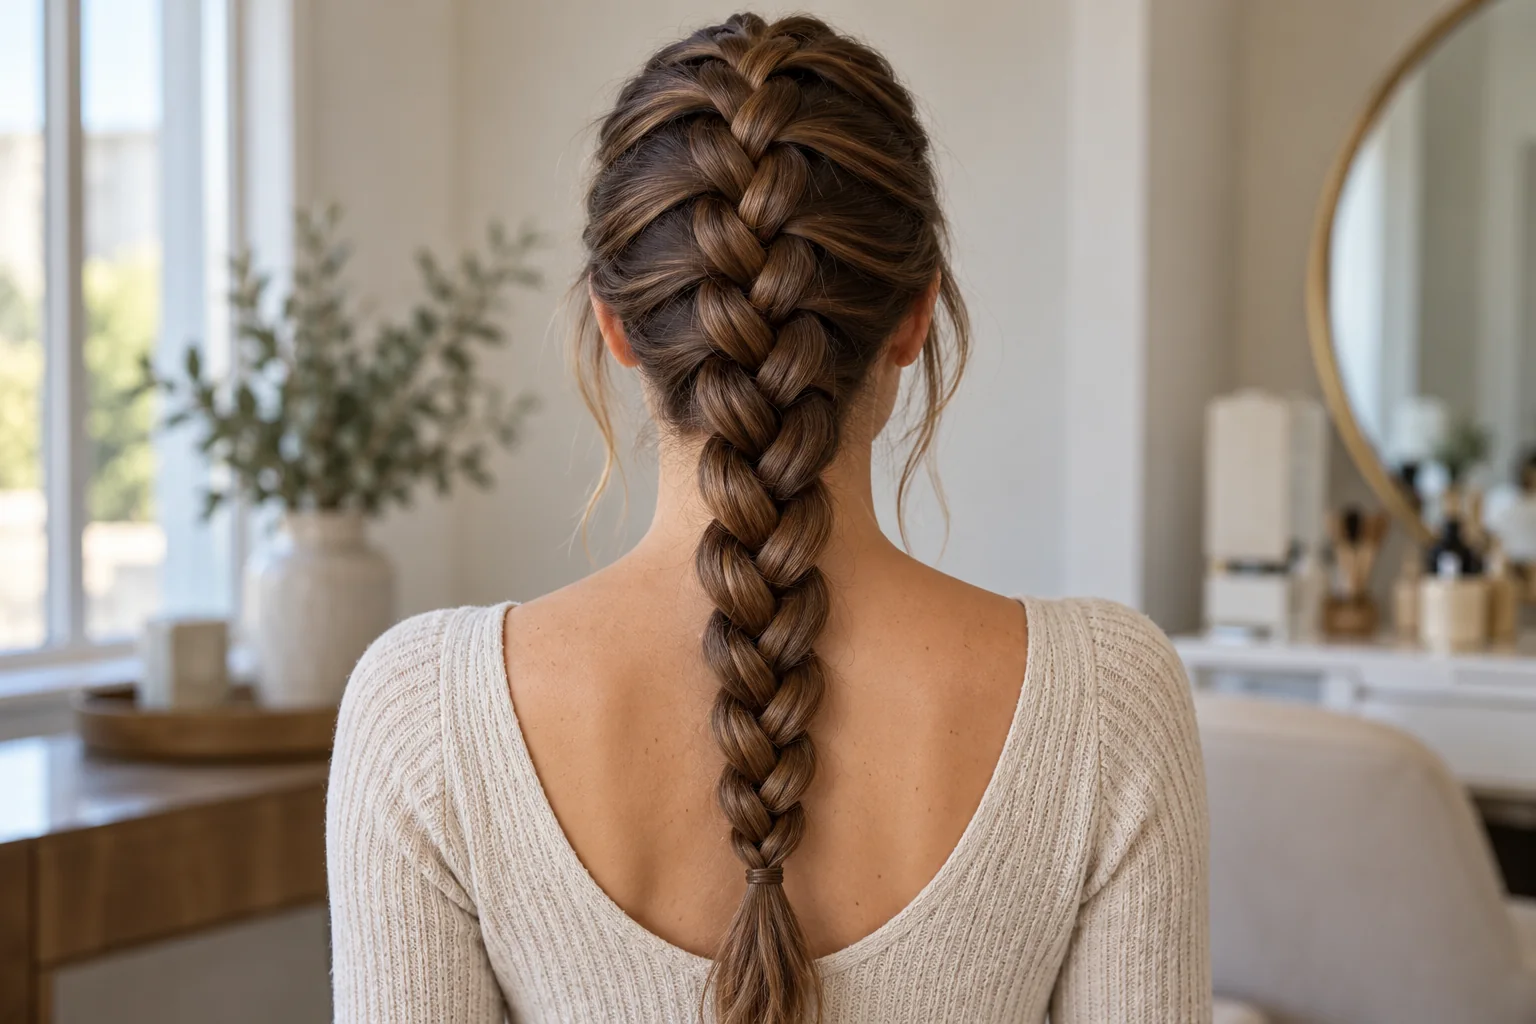
A Dutch braid crosses the outside strands under the middle; a French braid crosses them over. Both add loose hair as the braid travels along the head. That one change creates their most recognizable difference: the Dutch braid forms a raised ridge, while the French braid looks more integrated into the surrounding hair. Neither requires painful tension to hold its shape.
Make it work for you
Choose your starting point
Select the situation closest to yours for a practical next step.
I want a raised braid: Try the Dutch direction: outside strands cross under the middle. Keep pickups even and tension comfortable.
I want a smooth integrated braid: Try the French direction: outside strands cross over the middle. Follow the same route and pickup size throughout.
I keep losing the strands: Practice a low three-strand plait first. Add hair only after the crossing direction feels familiar.
Your preparation card
Check before you start
Tick each item as you work through it. Your selections stay on this page and reset when it is reloaded.
0 of 5 complete
Compare the movement, not just the name
| Decision | French braid | Dutch braid |
|---|---|---|
| Outside strand | Cross over the middle | Cross under the middle |
| Scalp section | Flatter, tucked-looking weave | Raised, visible ridge |
| Added hair | Small pickup joins the working outside strand | Same pickup principle, with an under-crossing |
| Useful starting goal | Smooth integrated finish | More visible braid pattern |
Once a strand crosses, it becomes the new middle. Keep naming strands by their current position rather than the hand that first held them. Reversing the movement halfway through creates a mixed structure, which is a common reason a first attempt looks different near the crown and nape.
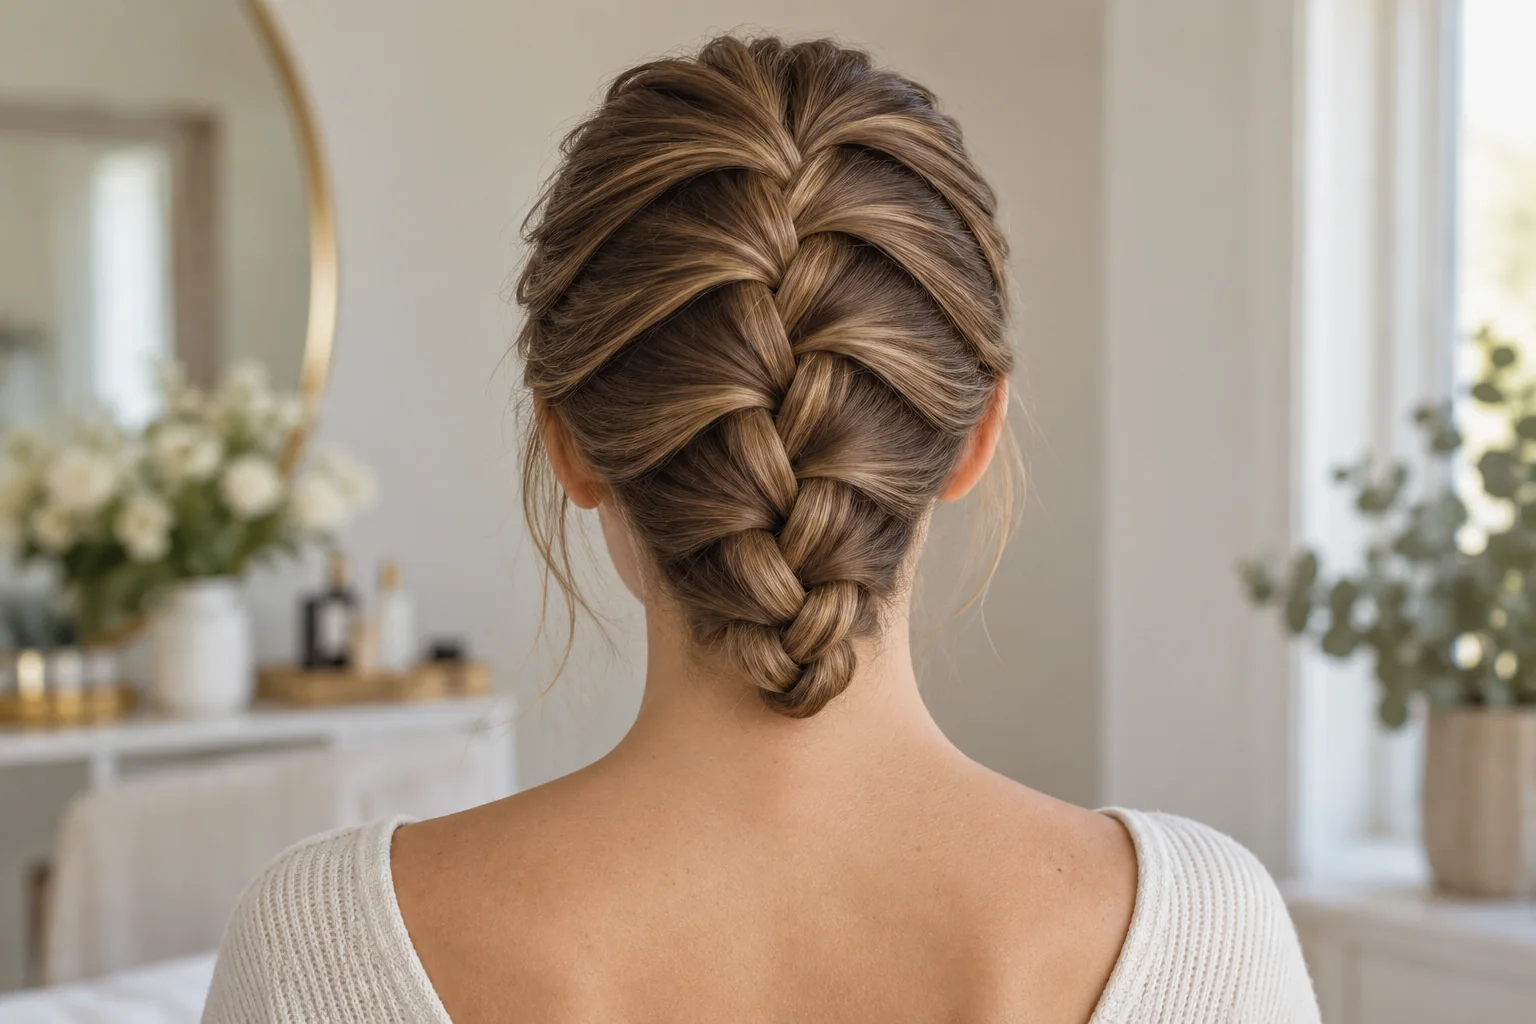
Practice the direction before adding hair
Begin with a low three-strand plait or three soft cords. For the French movement, cross the right outside over the middle, then the left outside over the new middle. For the Dutch movement, make the same alternation underneath. Practice until you can pause without losing the three separate sections.
For a scalp braid, take a small starting section near the crown and split it into three. Work one crossing on each side, then add a manageable pickup to the outside strand before its next crossing. Continue down, keeping your hands close to the working point. When no loose hair remains, finish as an ordinary overhand or underhand three-strand braid and secure the end.
Use our full French braid tutorial for the complete hand-placement sequence. This comparison helps you switch direction without treating the two techniques as unrelated hairstyles.
Keep the comparison fair
If you want to see which finish you prefer, try the same starting section, braid route and pickup size on separate occasions. Comparing a very loose French braid with a tightly sectioned Dutch braid tells you little about the technique itself. Hair color, highlights and lighting also change how clearly the weave shows.
Small even pickups can make either braid look more detailed; larger pickups create broader segments. Choose a section size you can manage consistently. A more intricate-looking braid is not automatically more secure. The end tie, nape handling and shortest layers all affect wear.
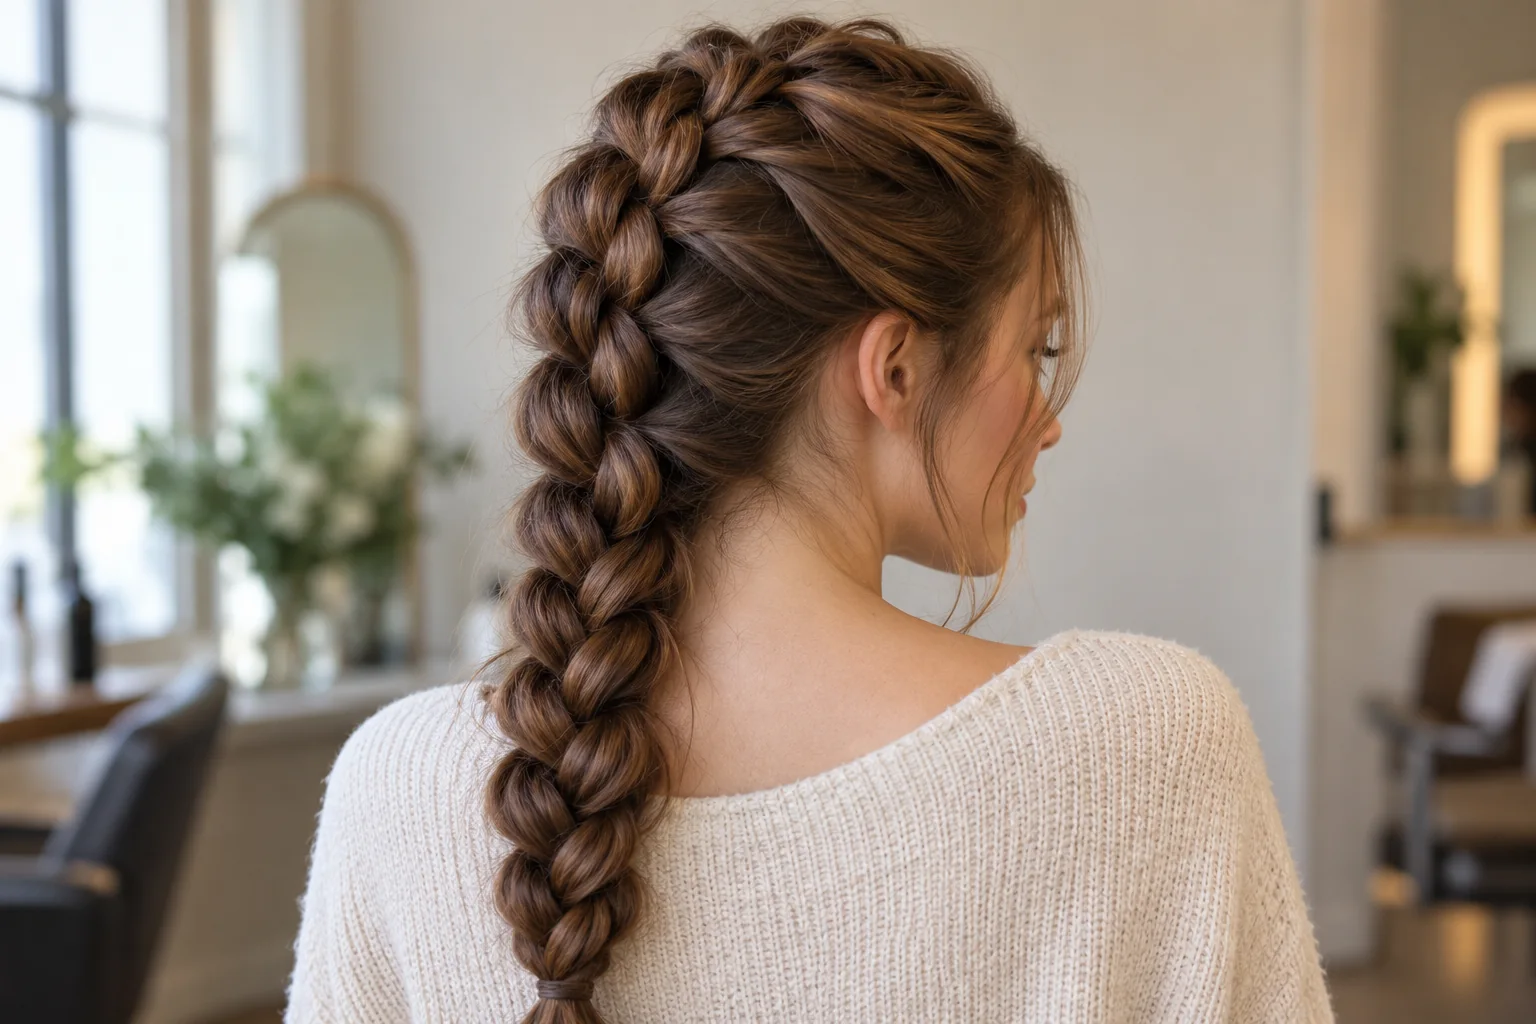
Adjust for length, density and texture
On heavily layered hair, start where enough length reaches the braid route. A half-up braid may work better than forcing short nape pieces into a high start. If the bundle feels too large to hold, divide it into two braids or reduce the starting section.
Detangle gently in a way that suits your texture. You do not need to straighten curls or coils to use either crossing direction. Preserve comfortable tension and avoid repeatedly pulling short edge hairs into the braid. A visible raised ridge should come from the under-crossing, not from tightening at the hairline.
Fix the problem you can see
- The braid changes from raised to flat.
- You may have switched from under to over. Undo to the last consistent crossing and repeat the same direction.
- Hair hangs loose at the nape.
- Bring the working point nearer the nape as you add the last pickups. Avoid reaching forward and pulling the whole braid away from the head.
- One side looks thicker.
- Compare pickup sizes and how much hair each side began with. Start with a clear part if making two braids.
- The scalp feels sore.
- Release the braid and redo it more loosely. A tidy result should not depend on discomfort.
Common questions
Is a Dutch braid the same as a cornrow?
The underhand movement can be shared, but cornrows encompass specific close-to-scalp sectioning and styling traditions. A single Dutch-braid tutorial does not describe every cornrow technique.
Which braid is easier for beginners?
Usually the one whose crossing direction feels familiar. Practice both on a low plait, then choose the movement you can repeat without changing direction.
Can I make either braid look fuller?
After securing the end, gently ease the outer loops if the length allows. Stop before the shorter sections slip out; looseness is a finish choice, not a requirement.
Related guides
- How to French Braid: Hand Placement for Beginners
- Long Haircuts for Women: Layers, Shape and Maintenance
- Claw Clip Hairstyles: Twist, Fold and Secure Your Hair
Sources and further learning
External references explain the underlying techniques or haircut terminology. The chooser is a starting point for practice or a salon conversation. Images are AI-generated references, not a documented step-by-step salon demonstration.







Leave a comment