


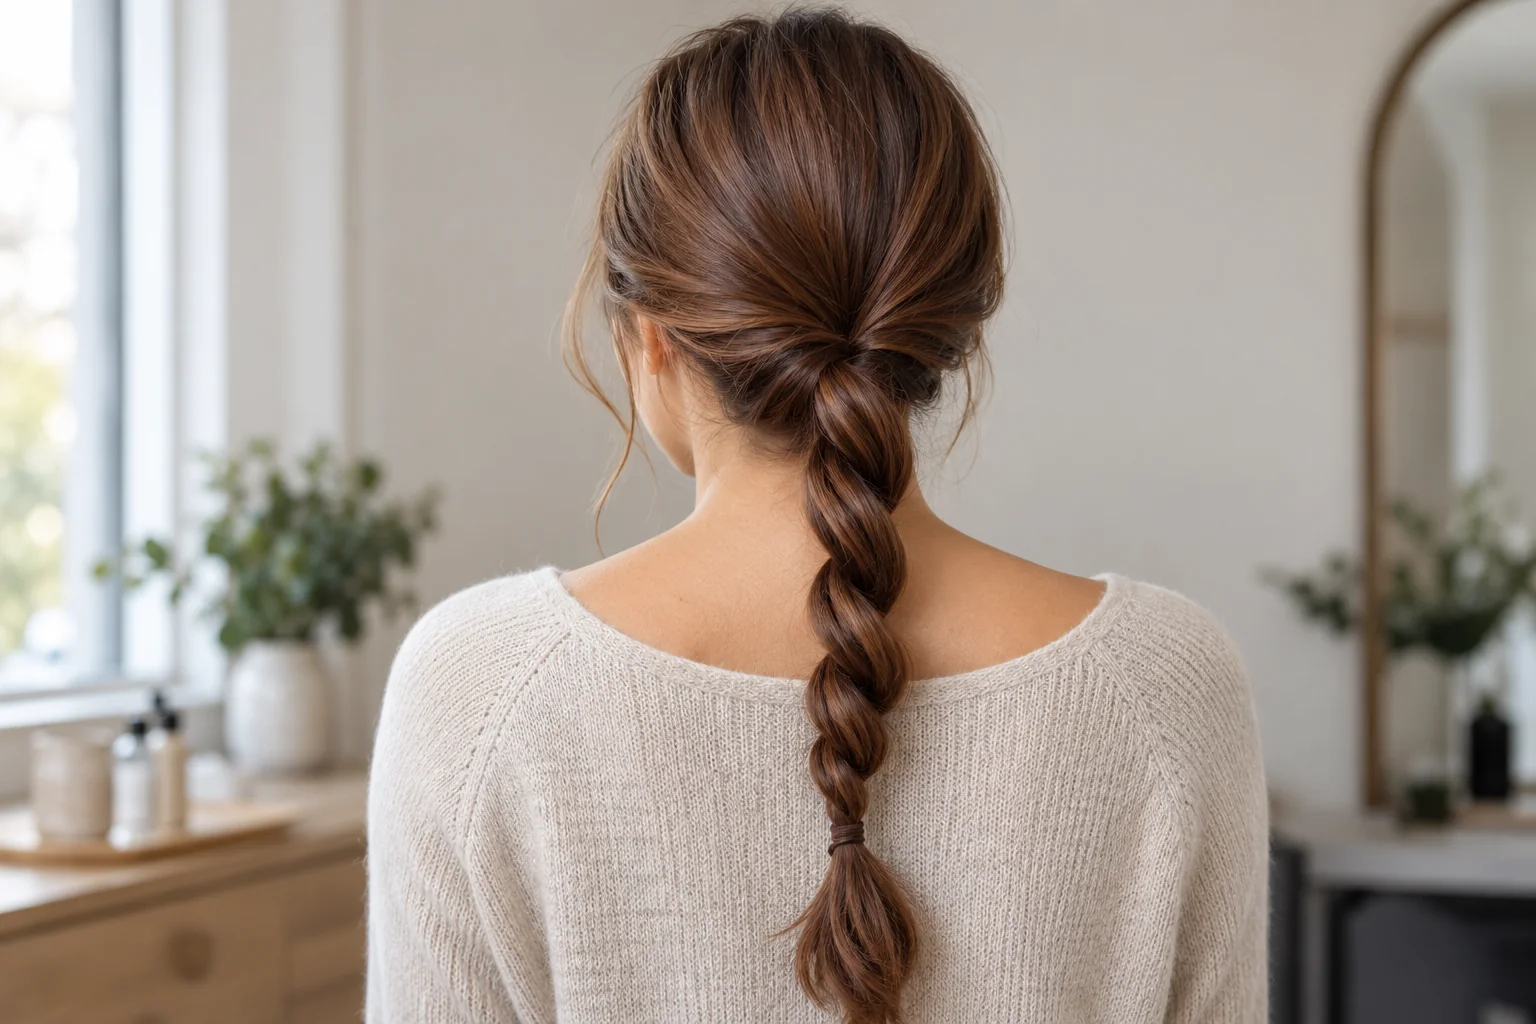
A rope braid holds its spiral because the two sections are twisted in one direction and wrapped around each other in the opposite direction. If you twist and wrap the same way, the shape often opens when you let go. Start with a low ponytail so the direction is easy to see.
Make it work for you
Choose your starting point
Select the situation closest to yours for a practical next step.
It opens as soon as I let go: Check the direction rule: both individual sections twist one way, then the pair wraps the other way. Secure both ends together.
I cannot manage all my hair: Practice on a smaller half-up section or low ponytail. Keep the loose ends separate as you work.
I want to wear it high: Set a comfortable high ponytail first. Confirm the nape pieces reach without pulling, then twist the tail.
Your preparation card
Check before you start
Tick each item as you work through it. Your selections stay on this page and reset when it is reloaded.
0 of 5 complete
Set up two manageable sections
Detangle, gather a comfortable ponytail and secure its base. Split the tail into two similar bundles. Keep the lengths separate so the ends do not knot while your hands turn the sections. Practice on a small ponytail if holding the full amount feels awkward.
For this guide, choose a clockwise individual twist viewed down the hanging length. The pair will then wrap counterclockwise. You can reverse both directions and get a working rope; what matters is that they oppose each other.
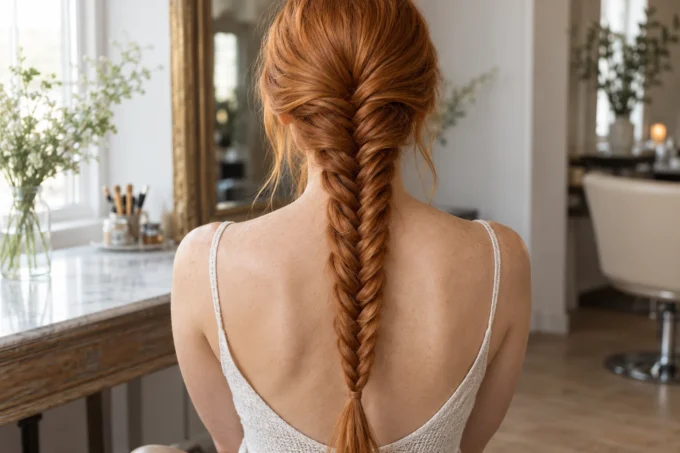
This method differs from a fishtail, which transfers small pieces between two bundles, and from a three-strand plait. The two rope sections stay distinct for the whole braid.
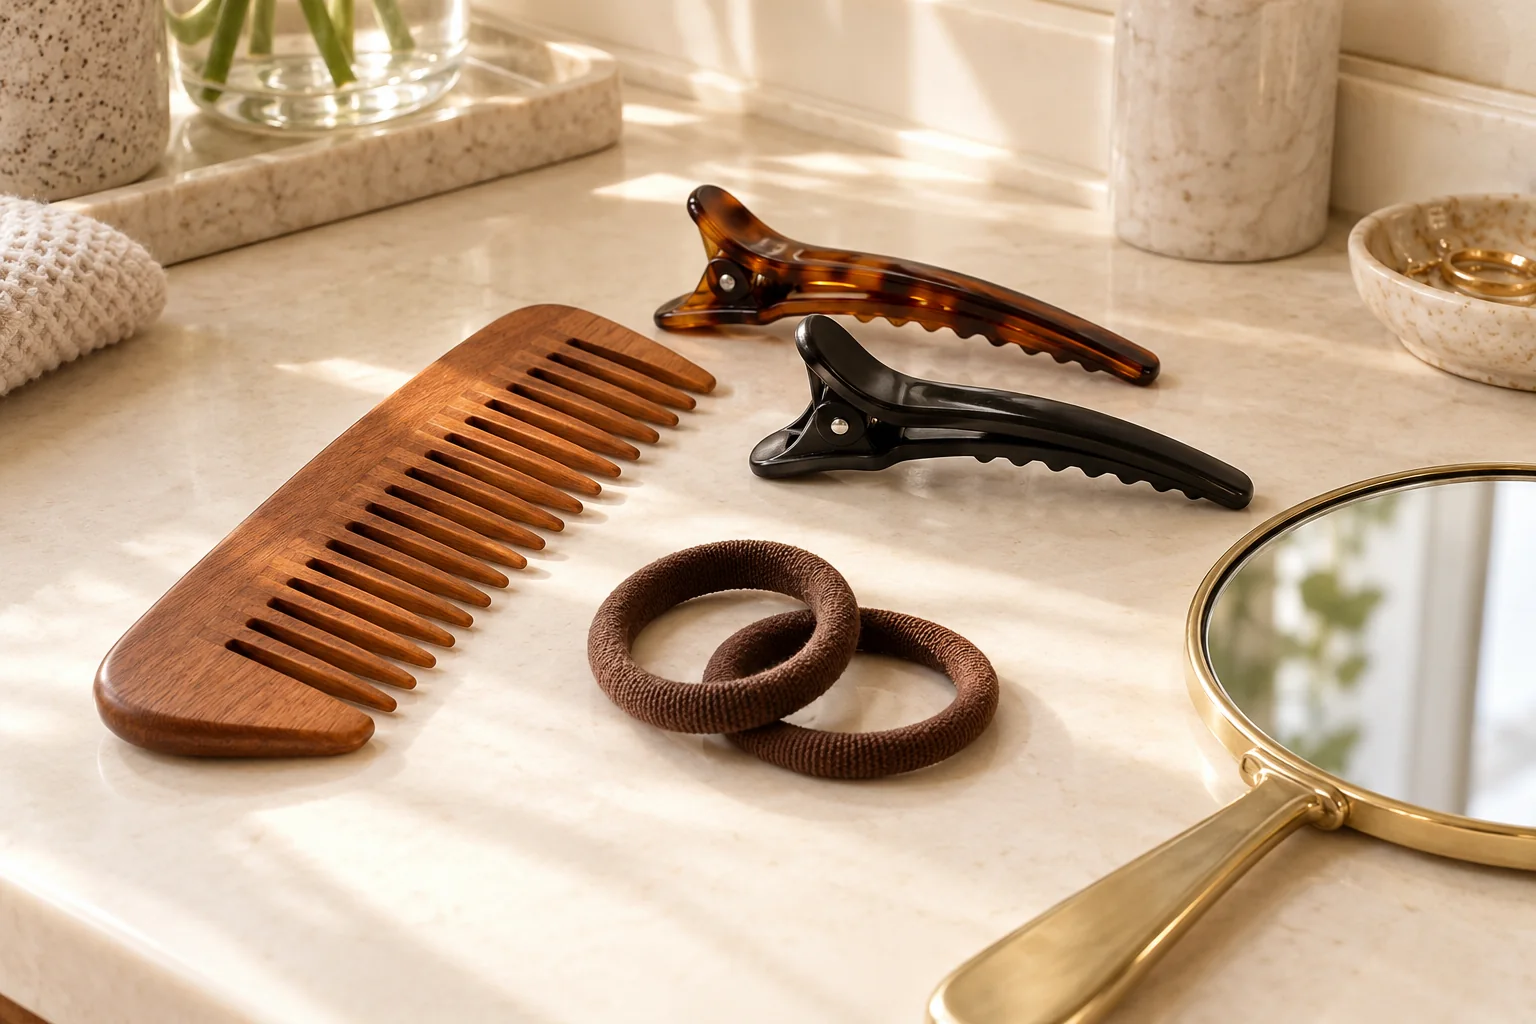
Twist one way, wrap the other
- Anchor: hold the two sections just below the ponytail tie.
- Twist the first section: turn it consistently clockwise to form a gentle rope.
- Twist the second section: use the same clockwise direction.
- Wrap the pair: cross the two twisted sections around each other counterclockwise.
- Move down: maintain the individual twists as you work along the length. Stop to separate the loose ends if necessary.
- Secure both: use an end tie that catches both sections before releasing your grip.
Do not twist until a section buckles tightly against the scalp. You need a recognizable spiral, not maximum tension. If the direction feels confusing, practice with two soft cords tied together at the top before working on your hair.
Why a rope braid unravels
| What happens | Likely check | Try next |
|---|---|---|
| The whole rope opens immediately | Individual twists and pair wrap went the same way | Reverse the wrap direction while keeping the individual twists |
| Only the lower part opens | The twists relaxed as your hands moved down | Maintain the section twist before each wrap |
| One section sticks out | Bundles began unevenly or a layer is too short | Rebalance the split or use a shorter half-up section |
| The end tie slides | Both sections are not held together | Secure both bundles with an appropriate tie |
Change one variable at a time. Adding more product will not fix a direction error. Once you can make a short stable rope, increase the length of the attempt.
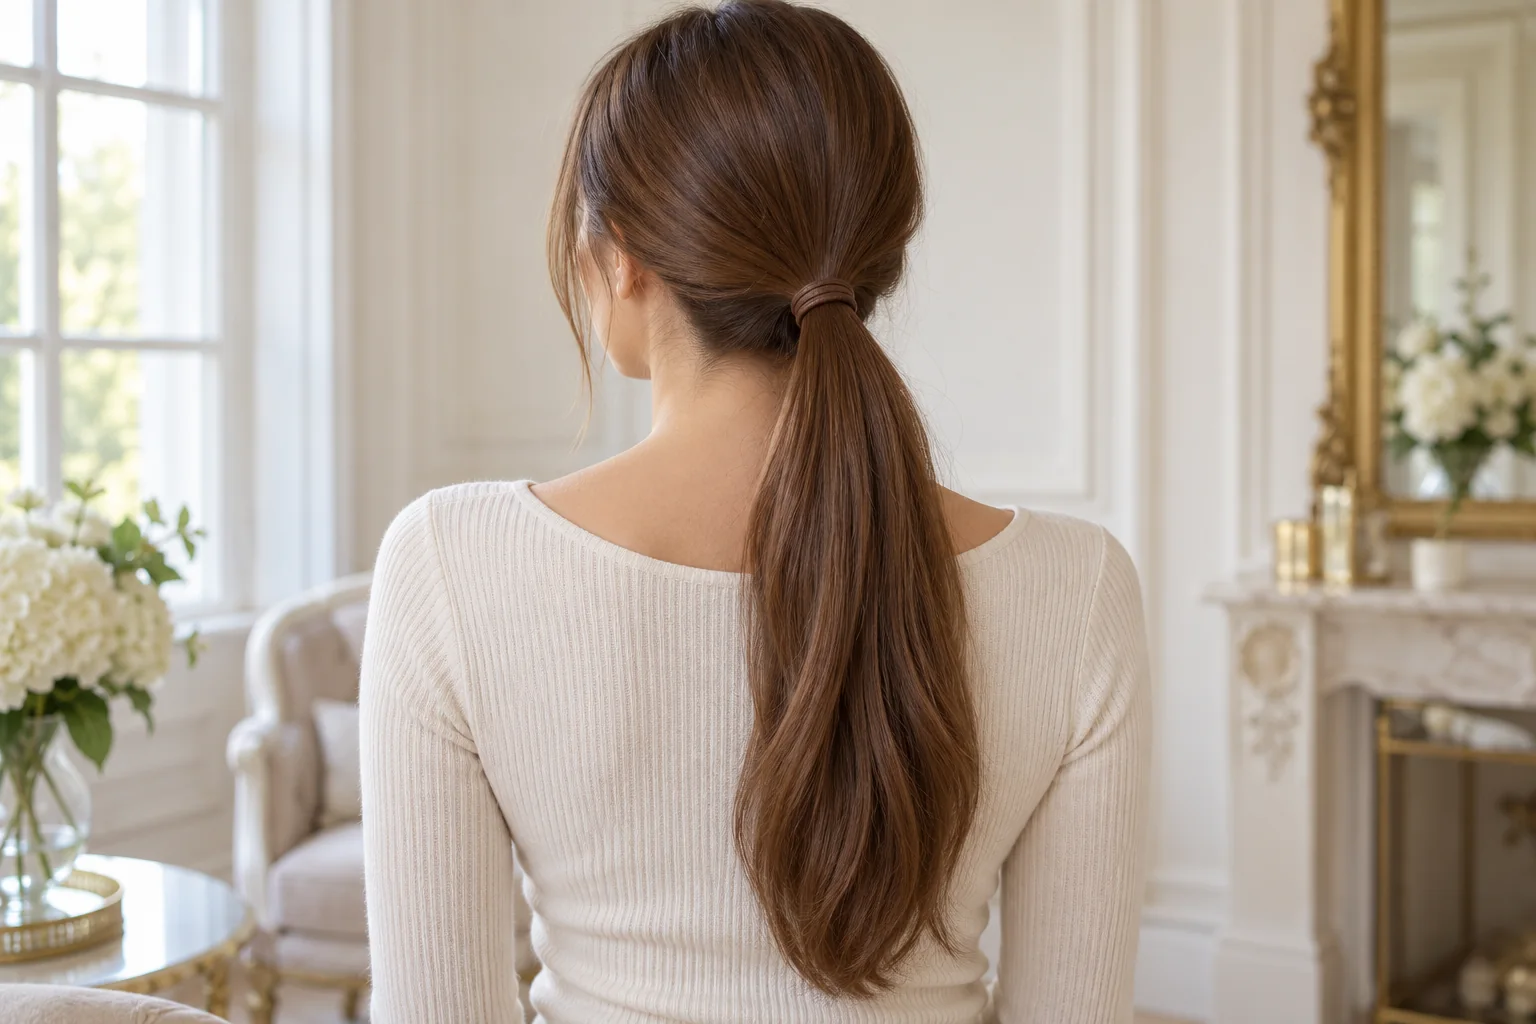
Adapt the placement
A low ponytail is easiest to watch. A higher ponytail creates a different silhouette but requires the shorter nape pieces to reach the base. Use our ponytail styling guide to think about base placement before adding the rope.
For short layered hair, try the top section only. Leave the lower hair down instead of tightening to catch pieces that cannot reach. On dense hair, two smaller ropes may be easier to hold than one large tail. On curls and coils, work with your normal detangling routine; the braid does not require straightening first.
Stop and loosen the base if the style pulls at the hairline. A secure tie and consistent direction should provide structure without discomfort.
Finish, wear and undo
Check the spiral before adding accessories. If you want a softer finish, gently ease the outside after the end is secured. Large adjustments can release the twist, so start small. Avoid treating a rope as a handle when adjusting the ponytail base.
To take it down, remove the end tie while supporting the tail. Let the sections separate in the reverse wrap direction, then gently release each individual twist. Detangle only after the rope structure is undone.
A rope can also be coiled into a bun, but that adds a second support problem. Learn the stable hanging version first, then pin the coil comfortably without dragging it tight against the scalp.
Common questions
Can I twist left instead of right?
Yes. Reverse both directions: twist the individual sections left and wrap the pair right. Keep that opposition consistent.
Is this the same as a two-strand scalp twist?
This guide describes a free-hanging rope from a ponytail. Adding hair along the scalp is a different handling sequence.
Do I need hairspray?
No product is essential to the basic direction principle. Use any product according to its label and choose a comfortable base and suitable tie first.
Related guides
- 90s Ponytail Hairstyles: High, Side and Half-Up Looks
- How to French Braid: Hand Placement for Beginners
- 90s Messy Bun: Step-by-Step Styling and Troubleshooting
Sources and further learning
External references explain the underlying techniques or haircut terminology. The chooser is a starting point for practice or a salon conversation. Images are AI-generated references, not a documented step-by-step salon demonstration.










Leave a comment