


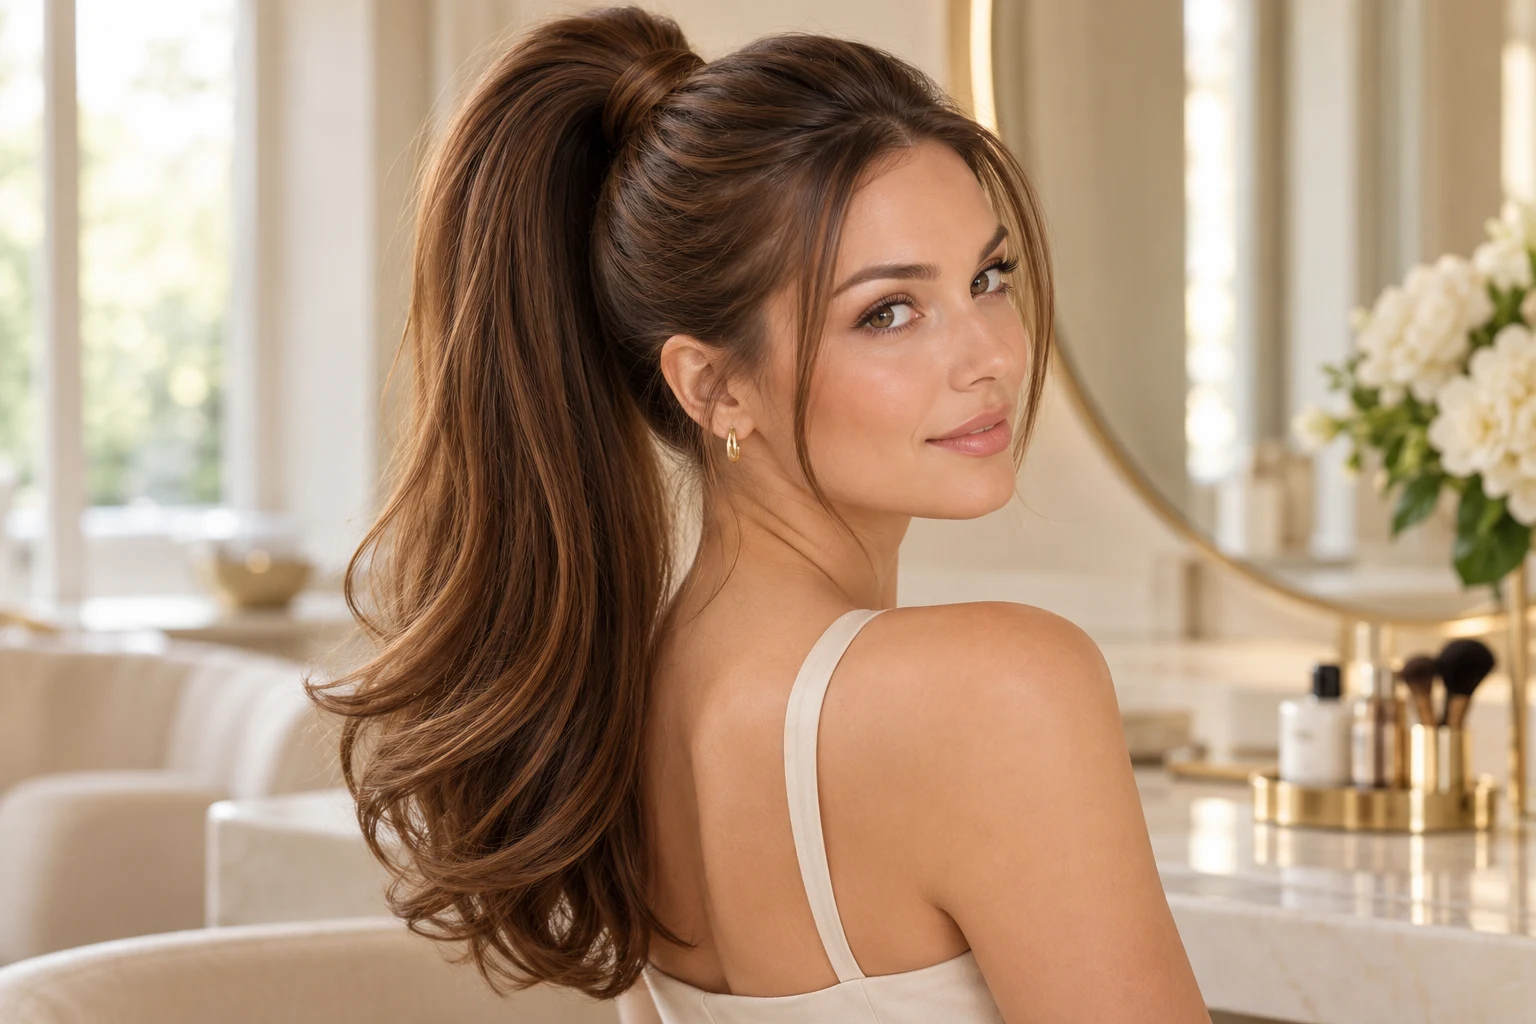
A 90s ponytail can be high and full, low with a side part, or half-up with loose lengths. Start by choosing the placement you want and checking whether your shortest layers reach the tie. This guide explains the basic method, variations and practical fixes without requiring extensions.
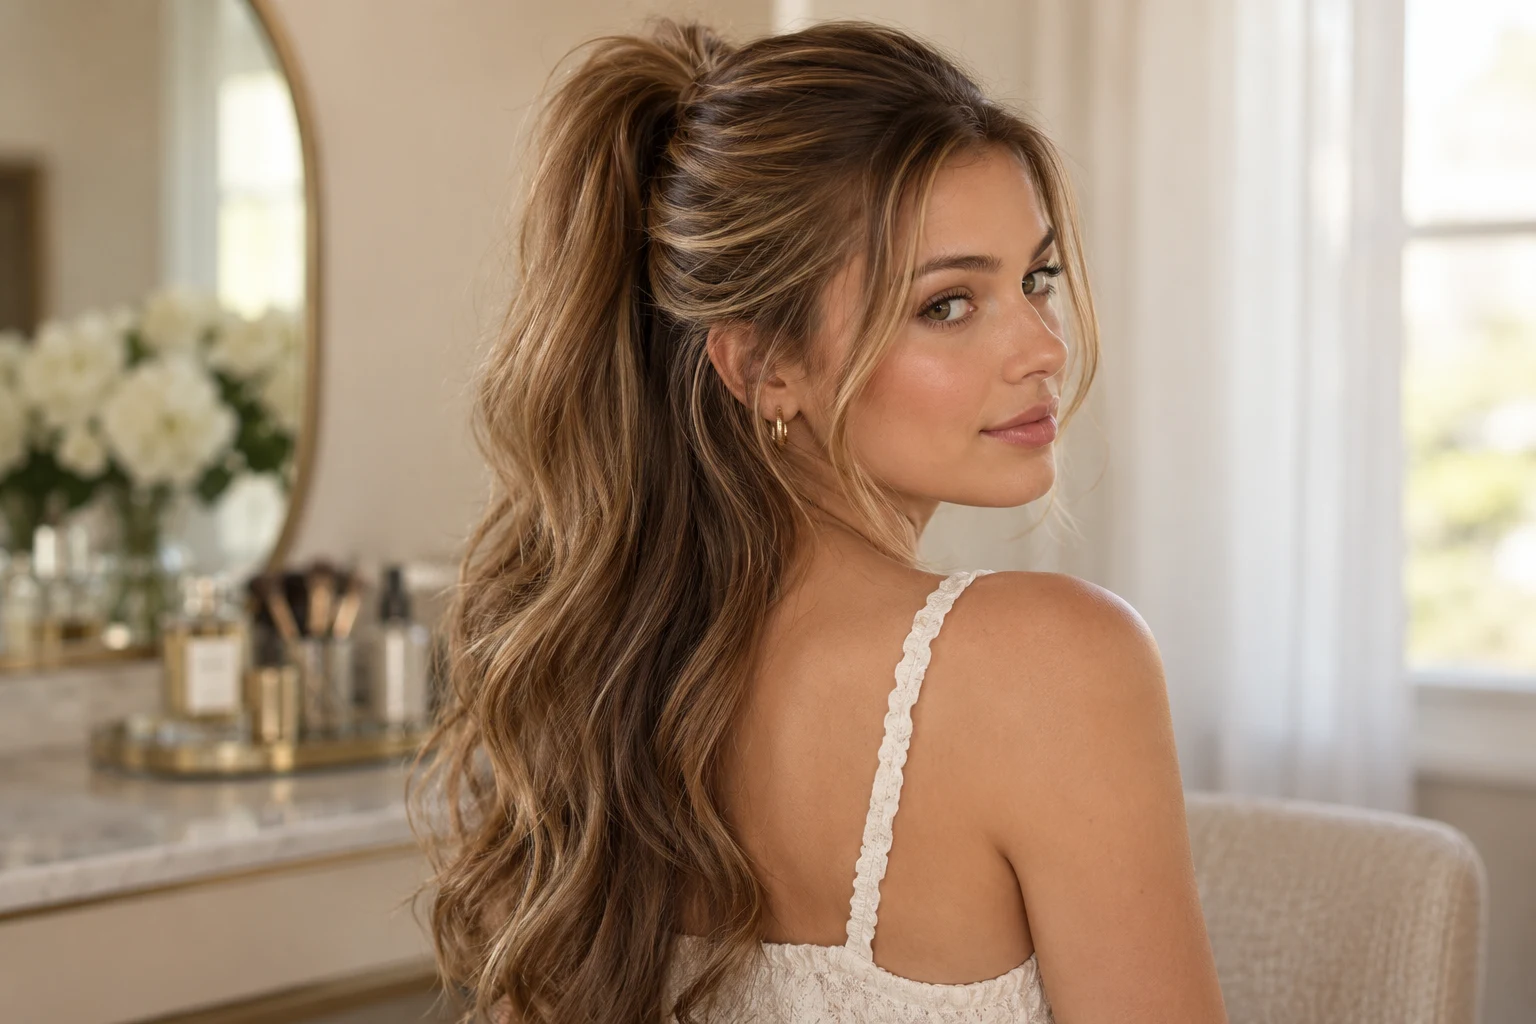
Fluffy 90s ponytail tutorial: volume without pulling tight
To create a fluffy 90s ponytail, focus on the shape of the tail rather than a painfully tight base. This beginner-friendly variation works best when the hair is dry and detangled; use your natural texture or a gentle pre-styled bend for volume. A soft fabric-covered hair tie, a wide-tooth comb, and an optional lightweight clip are enough to get started.
- Prepare the hair: Gently detangle, choose a middle or side part, and set aside any face-framing strands you want to keep loose.
- Choose your height: Gather the hair around the upper back of the head or crown, where the shortest layers can comfortably reach. For a half-up version, collect only the upper section.
- Secure softly: Wrap a covered tie until it holds comfortably. Do not pull the hair tight enough to cause pain at the scalp or hairline.
- Build the fluffy shape: Fan the ponytail into small sections with your fingers. Gently loosen the surface of the tail for a softer silhouette; if desired, lift a few outer strands near the base without disturbing the tie.
- Finish the ends: Leave natural waves and curls visible, or brush through an existing bend to create a rounded, airy finish. Heat styling is optional, not required.
- Check the look: Turn your head and move naturally. If the base slips or feels uncomfortable, reset the tie rather than tightening repeatedly.
What if your hair is short or fine?
For short layers, use a half-up ponytail or lower the placement. For fine hair, create visual fullness by spreading the tail into separate sections and using a tie that fits the hair’s thickness. You do not need heavy products, teasing at the roots, or extensions to get a softer 90s-inspired shape.
Why does my fluffy ponytail look flat or fall down?
A flat finish may come from tightly compressing the tail or gathering all the hair into too small a section. Fan the lengths gently after securing the base. If the tie slides, choose one sized for your hair rather than adding excessive tension. The American Academy of Dermatology cautions that repeated tight hairstyles can contribute to hair loss, so a comfortable hold matters more than matching a photograph exactly.
For another 90s-inspired option, see our 90s haircut guide or try the 90s messy bun tutorial.
The basic 90s ponytail method
Choose high, low or half-up placement before gathering your hair. Create the parting and set aside any front pieces first. Gather the lengths with your hands or a suitable brush, then secure with a covered tie that fits the section. The base should feel comfortable when you turn your head.

Arrange the tail and front pieces
Spread the tail gently and arrange the face-framing pieces without repeatedly pulling the base tighter. For a band wrap, use a small section from the tail and pin it securely underneath if you can do so comfortably. A scrunchie can remain visible as part of the look instead.
Keep extensions optional
A ponytail extension changes length and volume but also changes the weight and attachment requirements. Follow its specific instructions and make sure your own hair can support the arrangement comfortably. Natural length, a half-up version or a lower base may be a simpler starting point.
High ponytail with a soft front
Gather toward the crown, while leaving a chosen side fringe or front section loose. Check whether the nape layers reach before smoothing everything upward. If they do not, lower the base instead of pulling the short pieces hard or hiding discomfort with more product.
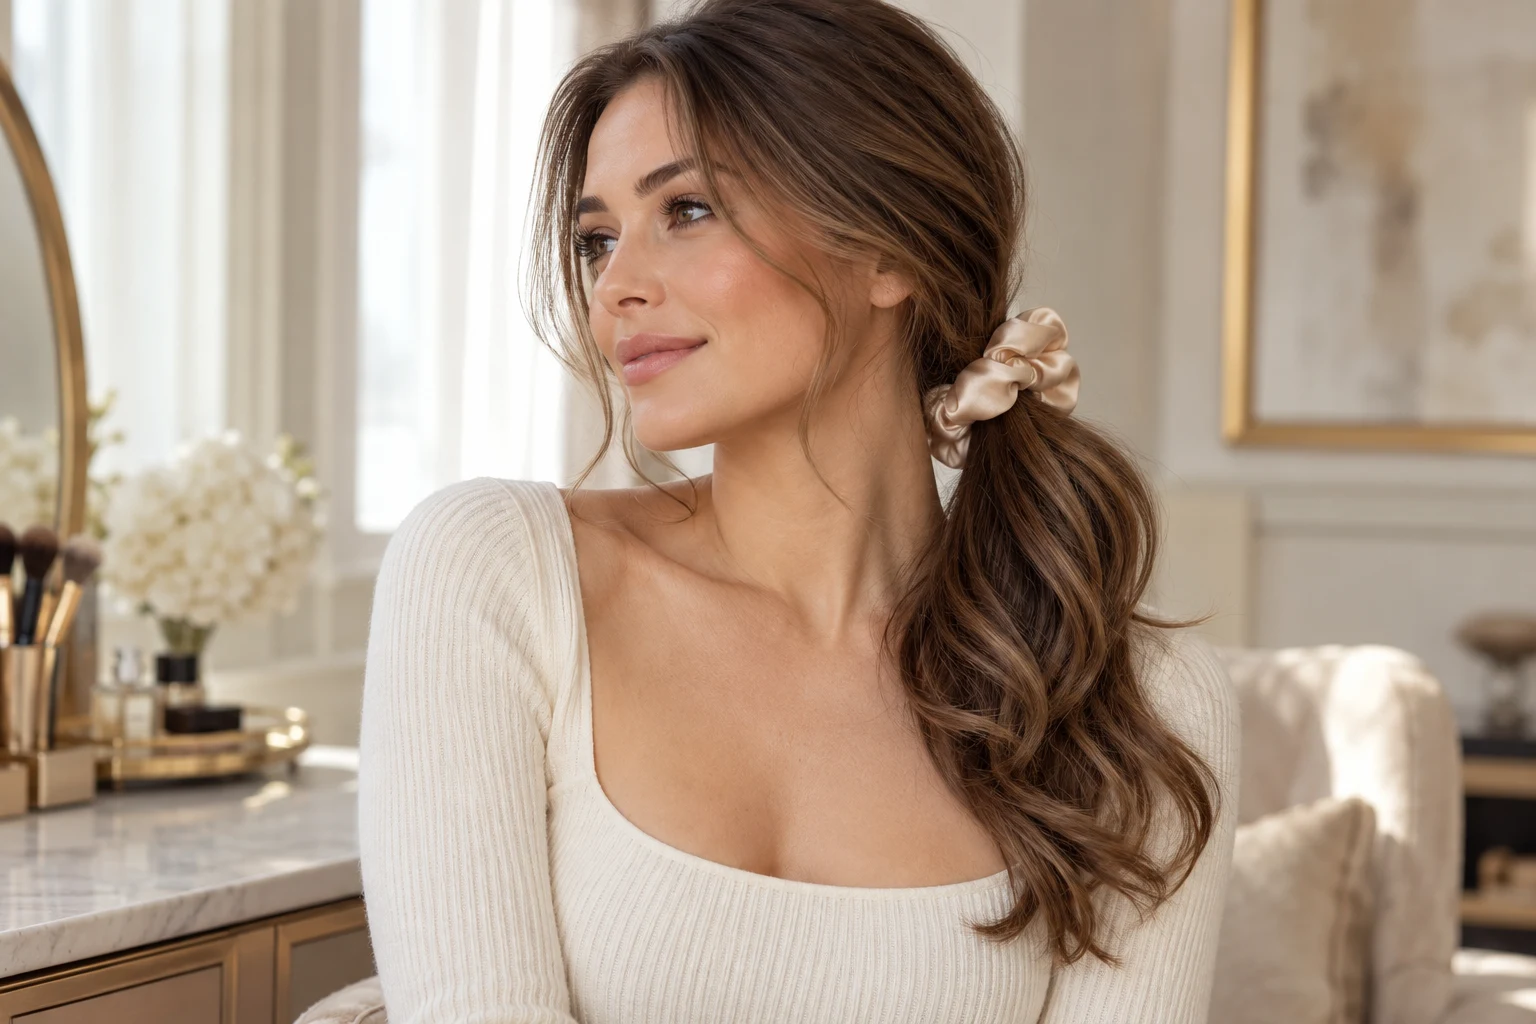
Low ponytail with a side part
Set the side part first, gather near the nape and arrange the lengths. This can make use of shorter layers that cannot reach a high tie. A tucked front section or a visible covered tie changes the finish without requiring a new haircut.
Half-up ponytail
Separate the upper section from the lower lengths and secure only the top portion. Compare how much hair you gather: a smaller section creates a different balance from gathering the whole crown. Leave the lower lengths in their usual texture if you want to avoid extra styling.
Before adding heat
A flipped or curled tail is an optional finish. Use tools according to their instructions, and avoid repeatedly applying high heat to chase a reference photograph. The AAD notes that excessive heat can damage hair. The placement can still read as retro without a hot-tool finish.
Choose your ponytail placement
| Look | How to build it | When to adapt it |
|---|---|---|
| High ponytail | Gather hair toward the crown, secure the base, then arrange the tail. | If nape layers cannot reach, use a lower placement. |
| Side-part ponytail | Create the part first, then gather the lengths behind it. | Keep the front comfortable rather than pulling it flat. |
| Half-up ponytail | Tie only the upper section and leave the lower lengths loose. | Useful when you want a lifted top without gathering all your hair. |
| Low ponytail | Secure hair near the nape and adjust the parting. | A practical alternative when short layers slip out of a high tie. |
Fix the base before adding products
If the tie slips, undo it and use a smaller section or a better-fitting covered tie. If the tail looks flat, separate the lengths gently rather than repeatedly tightening the base. For short layers, leave intentional face-framing pieces or change the placement. Added hair is optional and brings extra weight and attachment requirements; it is not a necessary part of a 90s ponytail.
The American Academy of Dermatology warns about repeated pulling from hairstyles. A ponytail should not hurt; loosen it if it does. For a pinned alternative, follow the 90s messy bun tutorial, or try butterfly clip placements on loose hair.
Frequently asked questions
Can short hair work in a 90s ponytail?
Use a lower or half-up placement if the shortest layers do not reach a high base. Extensions are optional, not a requirement.
How do I stop the tie slipping?
Rebuild a secure, comfortable base using a covered tie that fits the amount of hair. Do not keep tightening a painful ponytail.
Should I create a separate style for a side part?
A side part is a variation on the same method. Set the part before gathering the lengths.



Leave a comment