


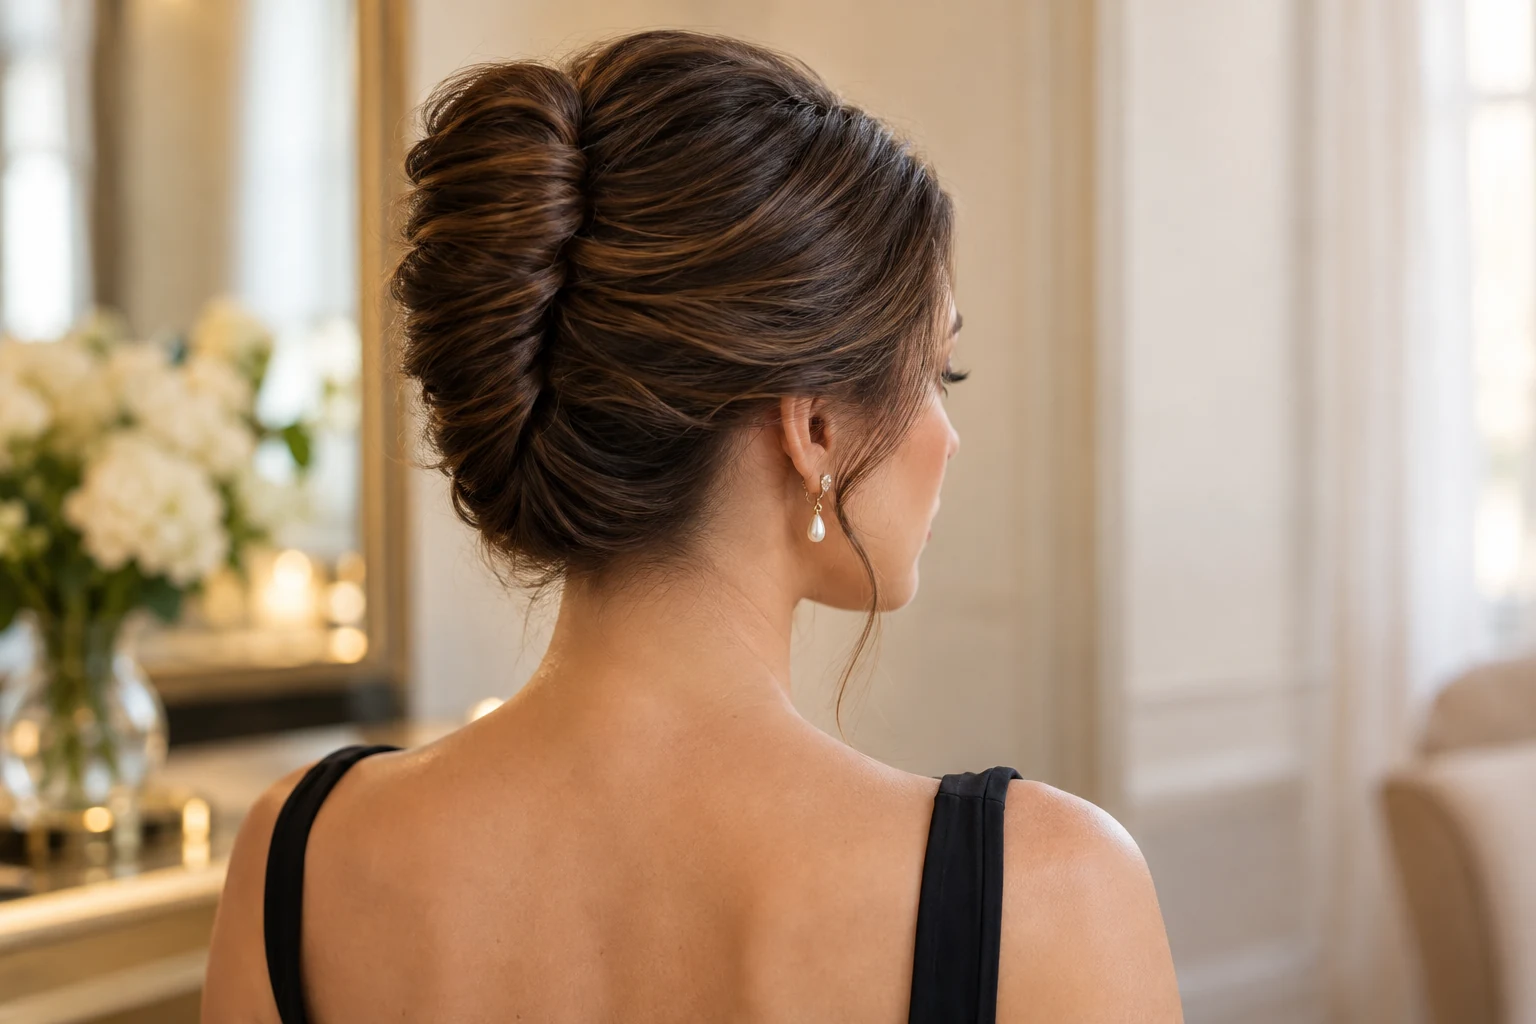
A French twist gathers the hair into an upright rolled shape at the back of the head, with the ends tucked into or arranged around the roll. The important detail is support: the pins must connect the roll to a stable base rather than sit only in its outer surface.
Start with a practice version when you have time to check the back. A slightly softer shape that feels secure is more useful than a rigid-looking roll that pulls or slips.

Gather the tools and check the length
Use a comb or brush appropriate to your texture, sectioning clips, bobby pins or suitable U-shaped pins, and two mirrors if available. A light styling product is optional. Read its directions and avoid adding layers of hold before discovering whether the roll is physically supported.
Hair must reach the intended roll without being dragged tight from the front. If short layers cannot reach, plan to leave them out or pin them separately. Very long hair needs room to fold inside rather than a tiny tight knot at the top.
A rolled-updo sequence
- Decide the outside shape. Choose where the roll should sit, and whether the crown should be flatter or softer. Separate any pieces you want loose.
- Sweep the working hair to one side. Keep the surface as smooth or textured as you prefer without pulling at the temples.
- Create a supporting base. Position pins along the back where the roll will cover them. Keep them comfortable and clear of the scalp.
- Bring the length back over the base. Support it with one hand while checking that the crown has not become unexpectedly tight.
- Roll upward and inward. Turn the length into a vertical fold, allowing the outer hair to cover the base. Tuck extra length into the hollow of the roll.
- Secure along the seam. Use pins that catch a little of the rolled edge and some hair underneath. Add support where the roll moves, rather than scattering pins only across its surface.
- Check comfort and movement. Gently turn your head and inspect the back. Reposition any pin that presses or pulls.
L’Oréal Paris’s classic tutorial uses the same broad sweep, return, twist and pin construction. The steps above are a practice framework; a stylist can demonstrate a pinning method that matches your density and length.
How to tell whether a pin is helping
Hold the roll while inserting a pin, then release a little of your supporting hand. If the roll immediately peels away, that pin may have caught only the outer fold. Remove and reposition it instead of pushing it harder toward the scalp.
The goal is connection between the roll and the base. The number of pins is not a measure of success. A few well-placed supports may do more than many loose pins, but the right arrangement depends on the hair and accessory.

Adjust for your starting hair
- Shorter length: aim for a smaller roll and keep unreachable sections separate.
- Longer length: distribute the folded ends inside the roll instead of stacking one bulky top knot.
- Slippery texture: check the base and pin placement before adding more product.
- Dense hair: allow a broader shape and use pins that can support the actual bundle.
- Curly texture: decide how much natural pattern you want visible and gather without brushing it away unnecessarily.
You do not need to backcomb simply because another tutorial includes it. Choose the surface and volume you prefer, then consider whether your hair can support that version comfortably.
Troubleshoot the shape
- The roll leans or collapses.
- Check the supporting base and where the seam pins connect.
- The top bulges.
- Spread extra length inside the roll rather than folding it all into one point.
- Pins show everywhere.
- Check whether you can reposition them along the fold; do not force a pin through a closed, overfilled roll.
- The front pulls.
- Release the style and regather it with room at the hairline. Discomfort is a reason to change the arrangement.
Remove in reverse
Support the roll, remove pins one at a time and keep count so none remain hidden. Open the folded length gently before detangling. Do not drag a brush through a pinned or heavily set section.
For a looser alternative, see our 90s messy bun tutorial. Our long haircut guide helps identify which front layers may need separate handling.
Common questions
Is a French twist the same as a claw-clip twist?
They can share an upright rolled structure, but this version uses a pinned base and seam. A large external clip supports the bundle differently.
Must the finish be perfectly smooth?
No. Decide on a polished or softer surface before you start. Security and comfort matter in either version.
Should a pin hurt?
No. Remove or reposition an uncomfortable pin rather than leaving it in for the sake of the shape.







Leave a comment