


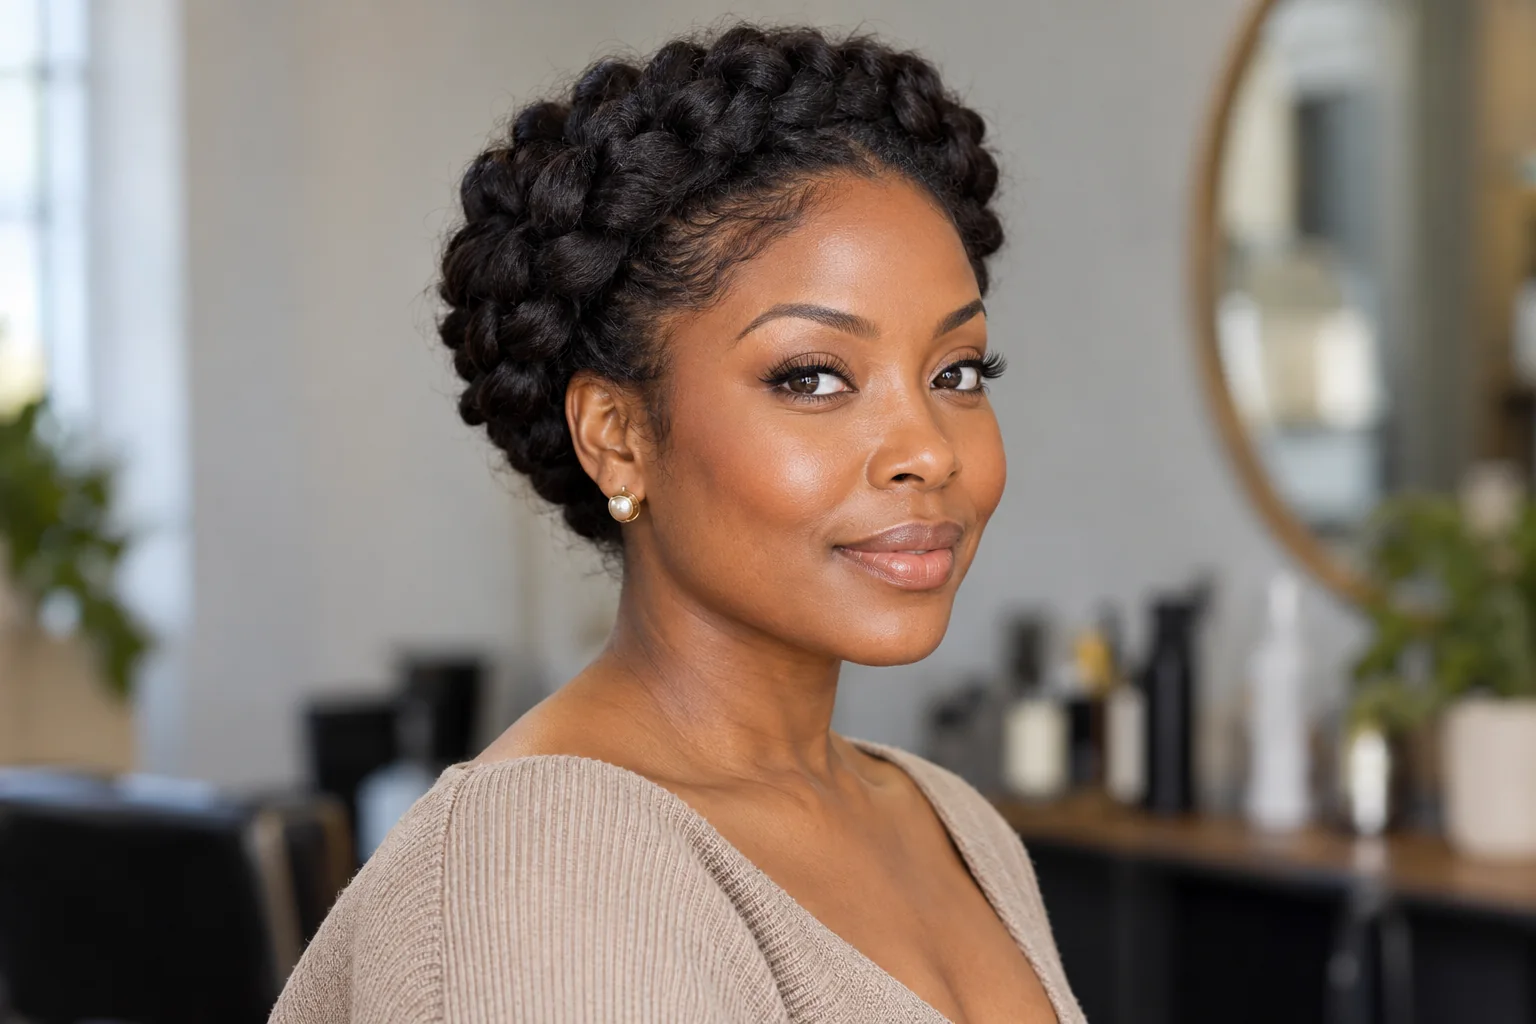
A halo braid creates a braided ring around the head. This beginner guide uses two ordinary braids laid up and around the crown, a route also described as a milkmaid crown. A continuous scalp braid is another version with a different hand sequence; you do not need to master it first.
Make it work for you
Choose your starting point
Select the situation closest to yours for a practical next step.
My braids overlap around the crown: Use the full two-braid route. Distribute support underneath and tuck each tail beneath the neighboring braid.
My hair does not reach around: Choose two side braids joined at the back for a half-crown. Do not pull the bases tight to make up the missing length.
The crown feels heavy: Try a lower route or smaller half-up crown. Reposition support and loosen any pulling near the temples.
Your preparation card
Check before you start
Tick each item as you work through it. Your selections stay on this page and reset when it is reloaded.
0 of 5 complete
Check the length and choose the route
Divide your hair into two sides and gently hold each side along the proposed crown route before braiding. If the ends cannot overlap comfortably, choose a shorter half-crown or pinned side-braid arrangement rather than pulling tighter.
The ring can sit near the hairline or farther back. Try the position with unbraided hair first, especially if you wear glasses or dislike weight near the temples. Note where your shortest layers fall out.
Detangle using a method suited to your texture. Have appropriate hair ties and pins ready. You can work with natural curls and coils; the route does not require straightening.
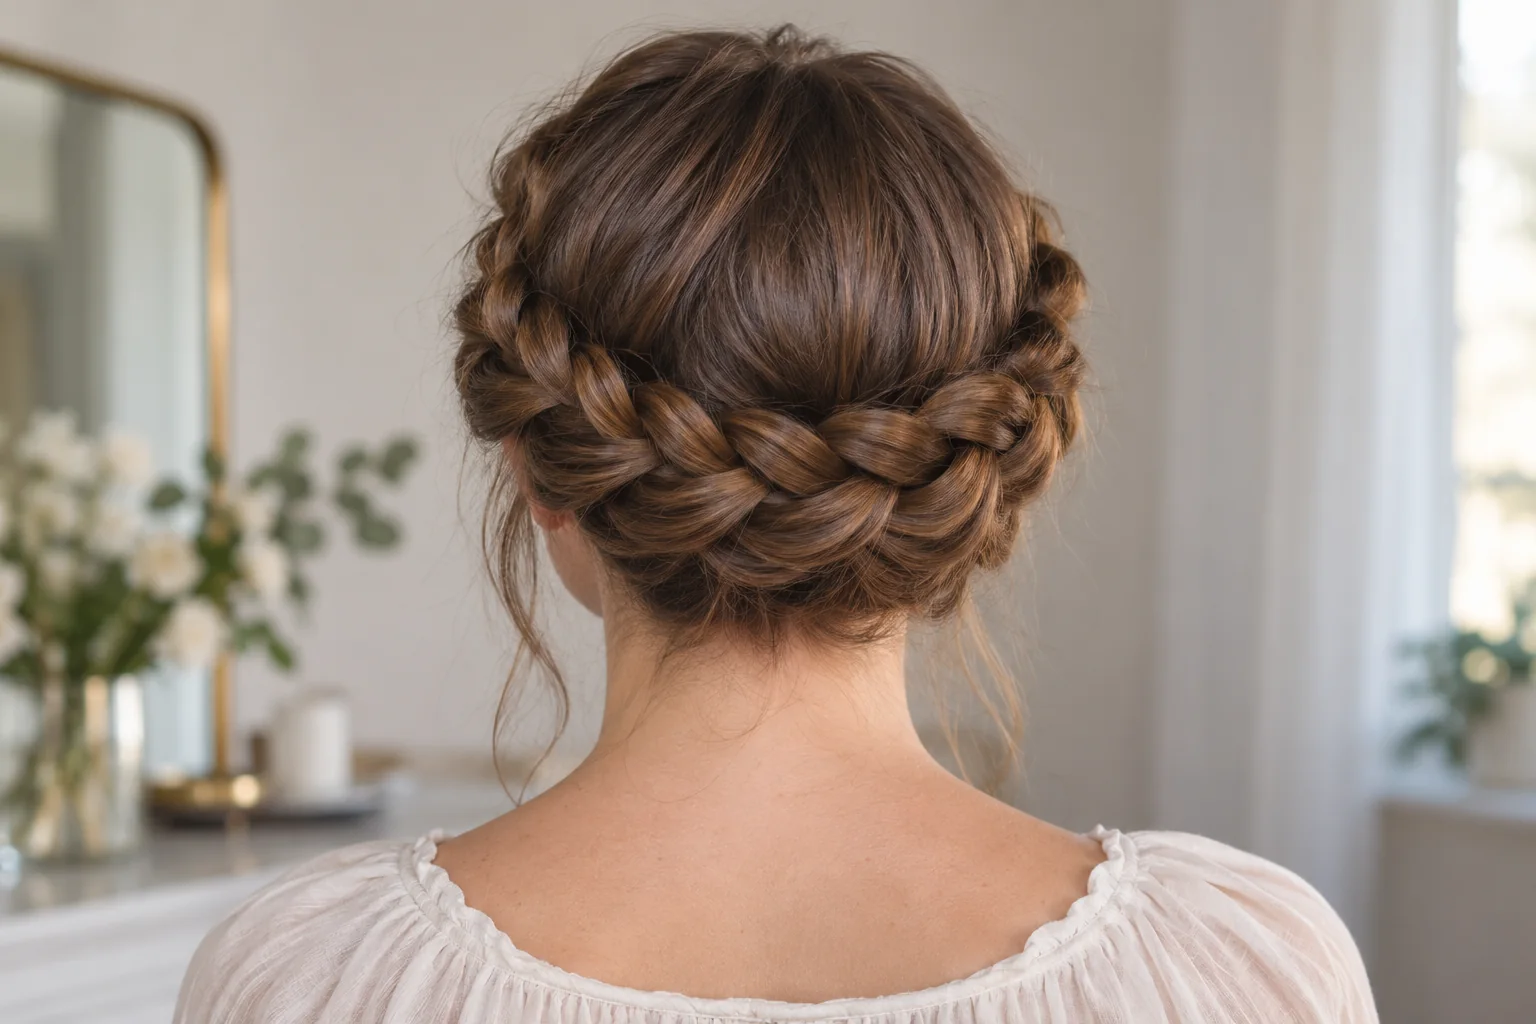
Make the two-braid version
- Part: divide the hair into two manageable sides. A slightly off-center part is fine if that is how you normally wear it.
- Braid the first side: make a comfortable three-strand plait and secure the end. Begin near the ear rather than pulling from a high tight base.
- Braid the second side: match the tension and general thickness as closely as practical.
- Lay the first braid: bring it up and over the crown along your chosen route. Hold it in place without dragging at its base.
- Support it: place pins through the underside of the braid into a small amount of underlying hair. Keep pin tips away from the scalp.
- Lay the second braid: bring it around the opposite side, overlapping where the length allows.
- Hide the ends: tuck each tied tail beneath the neighboring braid and pin securely.
- Check comfort: turn your head and move normally. Reposition any pin or section that presses or pulls.
If the overlap is small, keep it visible and tidy rather than forcing an invisible join. A simple well-supported crown looks better than a strained one.
Make the support comfortable
Several well-placed supports can distribute the weight better than one pin carrying the entire braid. Add them where the crown lifts or rotates. The goal is to catch the braid and supporting hair together, not to press metal into the skin.
Do not compensate for slipping by tightening the braids at the temples. Reconsider the route, the end overlap and where the support is anchored. If your scalp feels sore, take the style down or loosen it.
For a softer outline, ease the outer braid loops slightly before placing them on the head. Excessive widening can expose ties or release short layers.
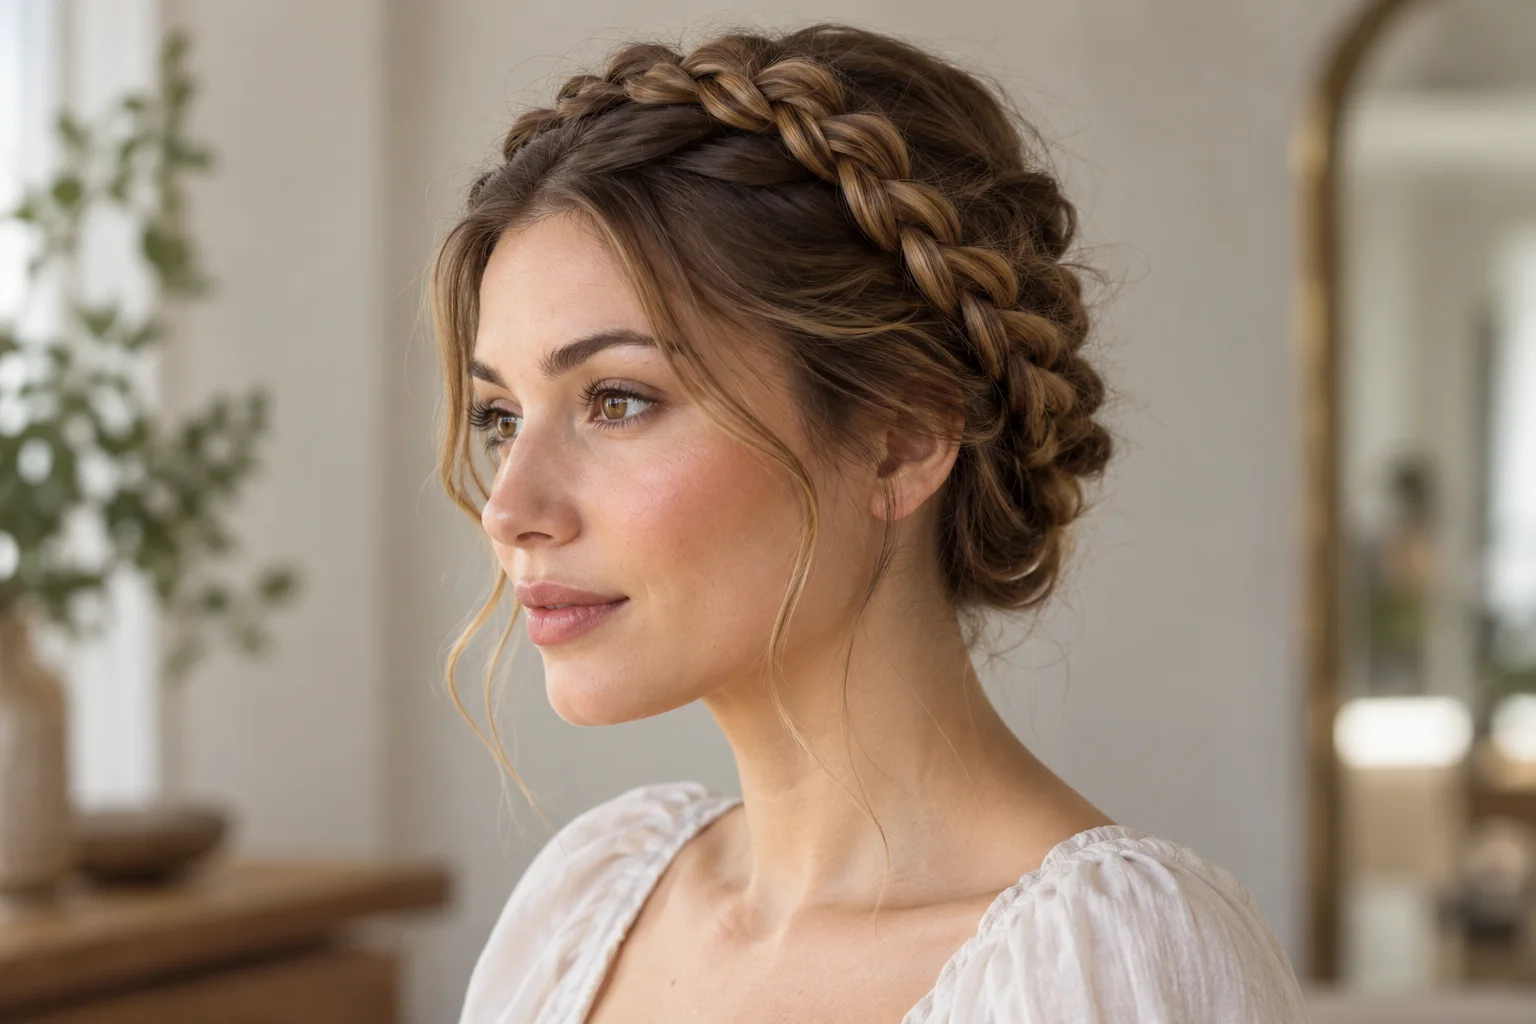
Adjust for layers and different finishes
Long face-framing pieces may be left loose deliberately. A small side braid can gather some shorter sections, but changing to a scalp-braided crown requires its own technique. Our French braid guide and Dutch-vs-French comparison explain the pickup principle.
On very dense hair, assess the weight before committing to a high ring. A lower pinned arrangement may feel easier. On shorter hair, two small side braids joined at the back can give a half-crown effect without pretending the length reaches all the way around.
The finish can be neat or textured. Preserve enough structure to support the braid even if you loosen the surface.
Troubleshoot the join and removal
- The tails show.
- Leave enough braid length to overlap, then tuck the tied end under the adjacent braid. If it still shows, use an intentional visible finish.
- The crown lifts at the top.
- Add support where it lifts and check whether the route is too long for your braid length.
- Pins hurt.
- Remove and reposition them. Comfortable pin placement is part of the technique.
- Layers poke out.
- Accept a softer finish or choose a shorter route. Pulling the base tighter cannot lengthen the layers.
To undo the style, count out and remove every pin before lowering the braids. Release the end ties and undo each plait from the bottom. Avoid brushing through hidden pins or woven sections.
Common questions
Is a halo braid always one continuous braid?
No. The name is used for several ring-shaped arrangements. This tutorial uses two laid-up braids and clearly separates it from the continuous scalp version.
Can I do it with layers?
Some layers can remain loose. Check their reach before choosing a full ring; a half-crown may be more practical.
Should I sleep in it?
Take it down if pins press or the style pulls. Remove the pins carefully and choose a comfortable nighttime arrangement rather than relying on a decorative pinned crown.
Related guides
- How to French Braid: Hand Placement for Beginners
- French Twist Tutorial: Build a Secure Rolled Updo
- Claw Clip Hairstyles: Twist, Fold and Secure Your Hair
Sources and further learning
External references explain the underlying techniques or haircut terminology. The chooser is a starting point for practice or a salon conversation. Images are AI-generated references, not a documented step-by-step salon demonstration.










Leave a comment