


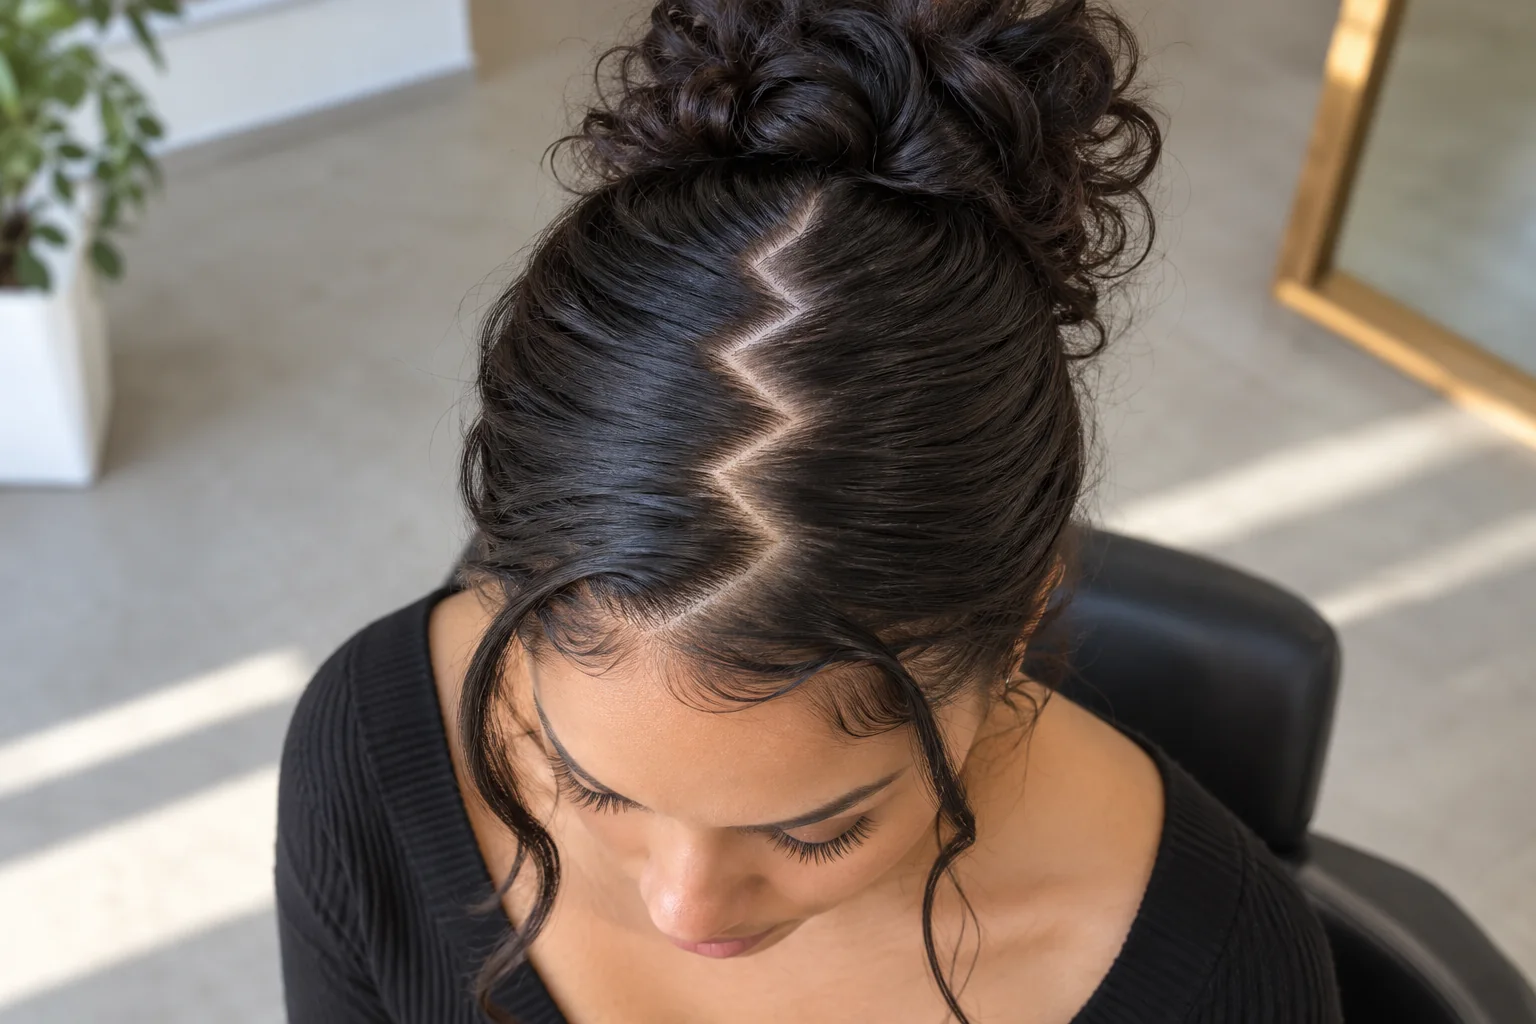
A zigzag part changes the scalp line that separates the left and right sections of hair. The clean result comes from tracing a broad alternating path, then separating the hair carefully. Start with a few wide turns; tiny rapid zigzags are harder to see and easier to tangle.
Make it work for you
Choose your starting point
Select the situation closest to yours for a practical next step.
This is my first attempt: Use a front-to-crown route with two or three broad turns. Separate each triangular section with your fingers.
I want two ponytails: Extend the route only as far back as you can check clearly. Finish the part before tying the bases.
My hair tangles during sectioning: Stop and detangle first. Use wider turns, smaller movements and a blunt tool without raking repeatedly.
Your preparation card
Check before you start
Tick each item as you work through it. Your selections stay on this page and reset when it is reloaded.
0 of 5 complete
Choose the pattern before the tool
Decide where the part should begin and end. A front-to-crown pattern is enough for loose hair or a half-up style. A longer part toward the nape may be useful for two ponytails, but it is harder to see without a second mirror.
Use a blunt-ended tail comb or a rounded sectioning tool. The tip should glide lightly along the scalp without scratching. Keep sharp objects away from the parting line and stop if the scalp feels irritated.
Detangle first and arrange the hair in a roughly central part. The goal is to move small sections from side to side, not to drag a pointed tool through knots. Work in the starting condition that suits your texture and normal sectioning routine.
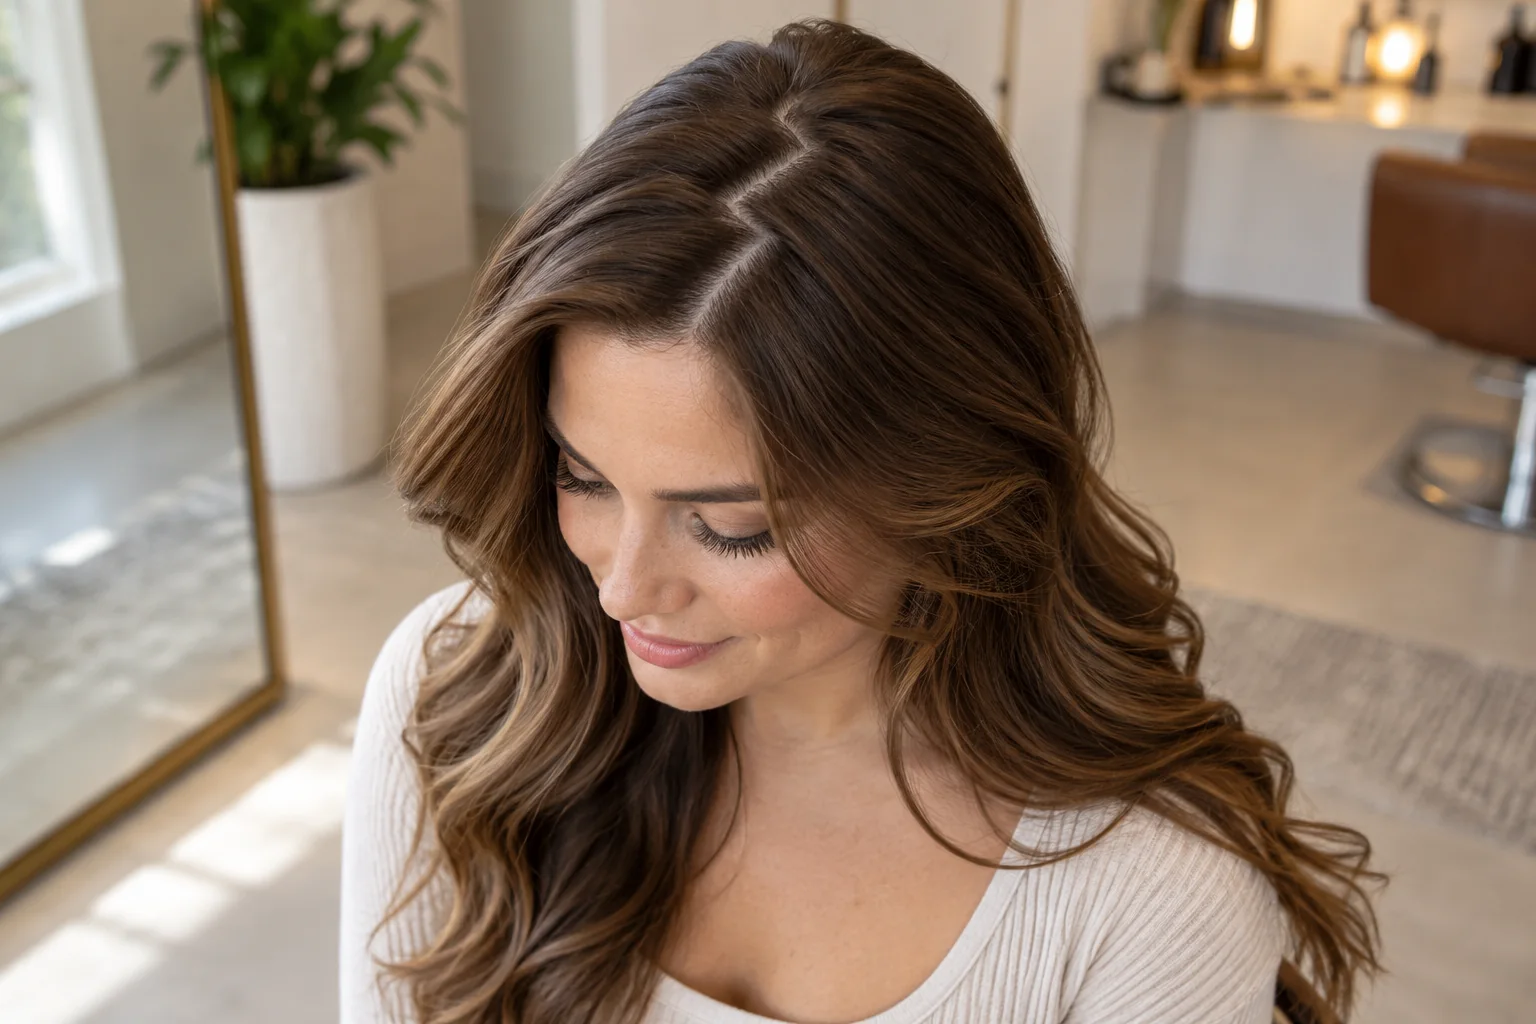
Trace, lift and separate
- Set a starting point: choose a visible point near the front hairline.
- Draw the first diagonal: guide the blunt tail lightly backward toward one side of the original part.
- Change direction: move diagonally across toward the other side, making a broad corner.
- Repeat a few turns: keep the pattern width reasonably consistent until the chosen endpoint.
- Lift carefully: use the tail to identify the hair belonging to one side of the new path.
- Separate with your fingers: move each little triangle of hair to its intended side without pulling through tangles.
- Clean up: clip one side away and correct crossed strands along the line.
Do not rake the tail back and forth repeatedly. If a section catches, stop, separate it gently and restart that small area. A broad two- or three-turn pattern is easier to learn than a fine sawtooth line.
Make the part visible without flattening everything
Check the line from above or with a rear mirror. A front mirror alone may hide the corners behind the hairline. Use clips to keep each side apart while checking for strands crossing the pattern.
You can leave the roots soft or choose a smoother finish. Product is optional; if you use it, follow its label and start with a small amount. Excess product can make the line look different from the intended natural finish.
On curls and coils, separate curl groups deliberately instead of repeatedly combing the surface smooth. You can create a visible pattern while keeping the surrounding texture.
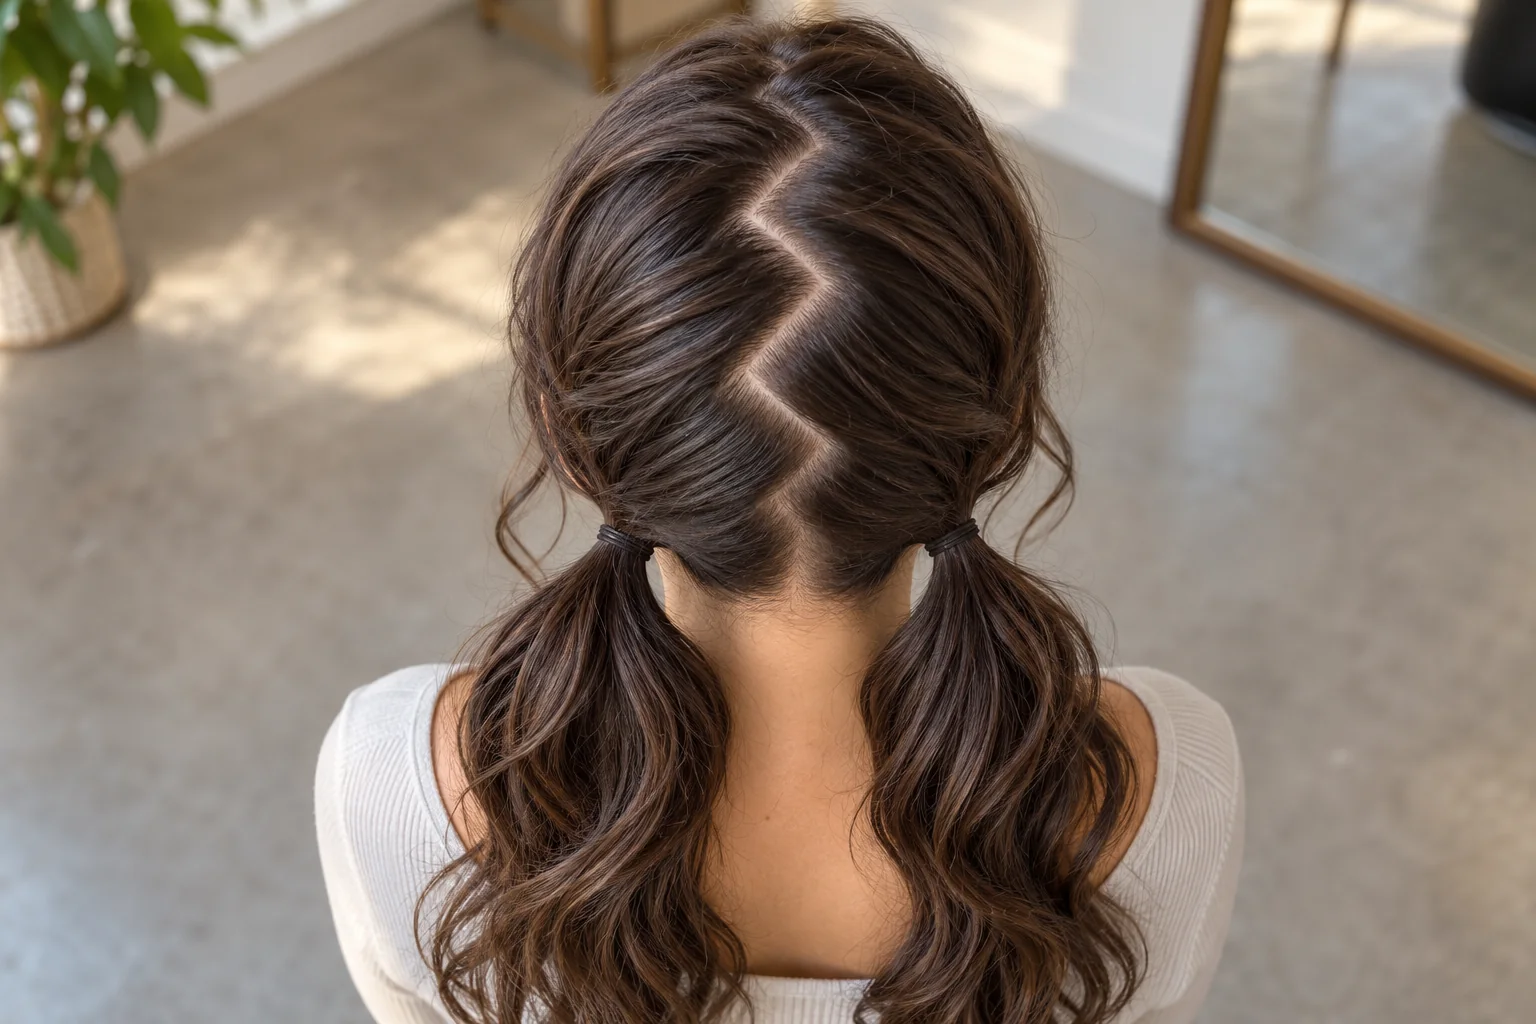
Choose a hairstyle around the line
Loose hair shows the front portion. Two low ponytails can reveal more of the pattern without requiring every section to reach high bases. Half-up styles emphasize the crown while leaving the lower hair down.
Two buns are another option, but finish the part before setting their bases. Otherwise, adjusting the pattern may pull the bases out of balance. Use a comfortable version of our ponytail method or add an accessory from the butterfly clip guide.
A zigzag part is a styling pattern, not a haircut. It will not permanently retrain your growth direction or change how much hair you have.
Fix crossed strands and uneven corners
- The line looks straight from the front.
- Check it from above. The turns may begin too far back or be too narrow to show from your chosen angle.
- Hair crosses the corners.
- Clip the sides apart and move the small triangles one at a time with your fingers.
- The tool catches.
- Stop and detangle the loose section. Use fewer, wider turns on the next attempt.
- The two sides feel uneven.
- Check your starting point and pattern width. Exact symmetry is optional, but the placement should be intentional.
To return to your normal part, release any ties and separate the sections gently before combing. Avoid forcing a tool through the locked-in shape.
Common questions
Do I need a metal tail comb?
No. A blunt rounded sectioning tool can work. Avoid sharp tips and use only light contact with the scalp.
Can I do it on curly hair?
Yes. Separate the curl groups gently and preserve the surrounding texture if that is your desired finish.
Does it hide hair loss?
It changes the visible line and how sections lie, but it does not treat thinning or change density. Choose it for the pattern and finish.
Related guides
- 90s Ponytail Hairstyles: High, Side and Half-Up Looks
- 90s Butterfly Clip Hairstyles: 8 Looks and Placement Tips
- Claw Clip Hairstyles: Twist, Fold and Secure Your Hair
Sources and further learning
External references explain the underlying techniques or haircut terminology. The chooser is a starting point for practice or a salon conversation. Images are AI-generated references, not a documented step-by-step salon demonstration.














Leave a comment