


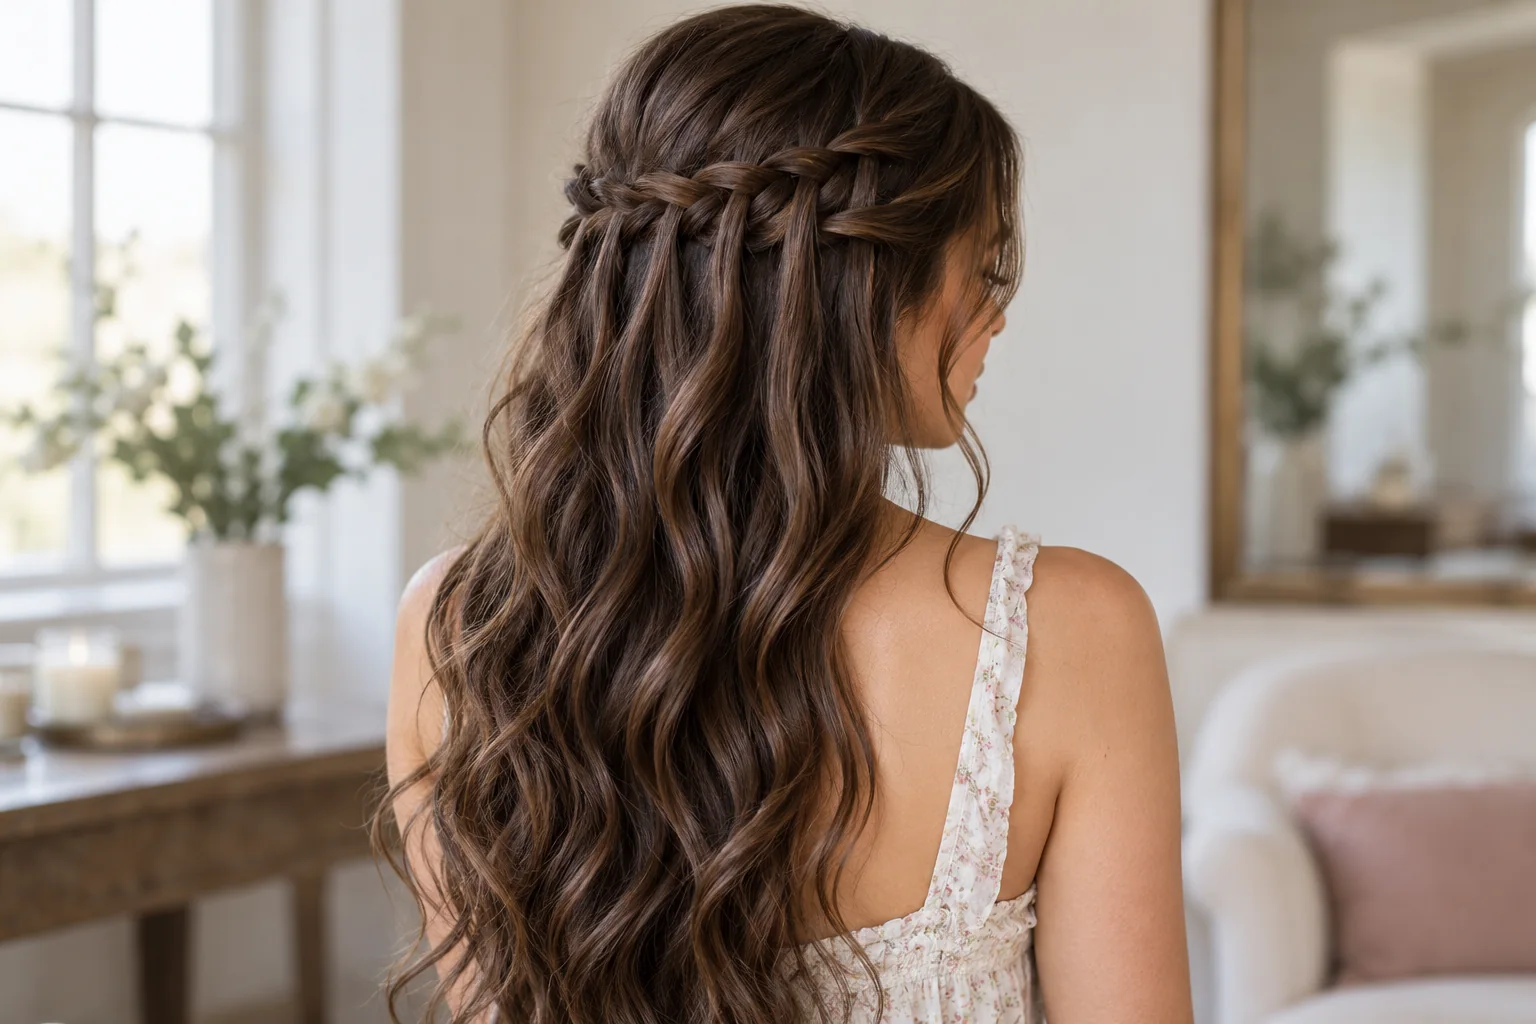
A waterfall braid is a partial braid that lets selected strands hang loose beneath the woven band. The key is to drop the lower strand and replace it with fresh hair before continuing. Start with one short section above an ear, rather than attempting a full wrap on the first try.
Make it work for you
Choose your starting point
Select the situation closest to yours for a practical next step.
I keep grabbing the dropped strand: Park the released strand below the band and take the replacement from fresh hair just behind it. Work only a few cycles at first.
The band keeps drifting downward: Check the intended route in a side mirror. Hold the working point close to the head instead of pulling outward.
My layers are short: Try a small accent above one ear. Stop where you can secure it without forcing short pieces into the band.
Your preparation card
Check before you start
Tick each item as you work through it. Your selections stay on this page and reset when it is reloaded.
0 of 5 complete
Plan the route and prepare the hair
Choose whether the braid will travel horizontally above the ear or angle gently toward the back. Keep the hair you intend to leave loose detangled. Use a clip to park the opposite side while you work, and have an end tie or pins ready.
Begin near the temple with a manageable section and divide it into three. For the directions below, “top” means the strand nearest the crown and “bottom” means the strand nearest the ear. Those positions change after each crossing, so follow the current position rather than the original strand.
A side practice section lets you watch the movement. If the ordinary crossing sequence is unfamiliar, practice a basic plait first and use our French braid guide for adding hair to a working section.
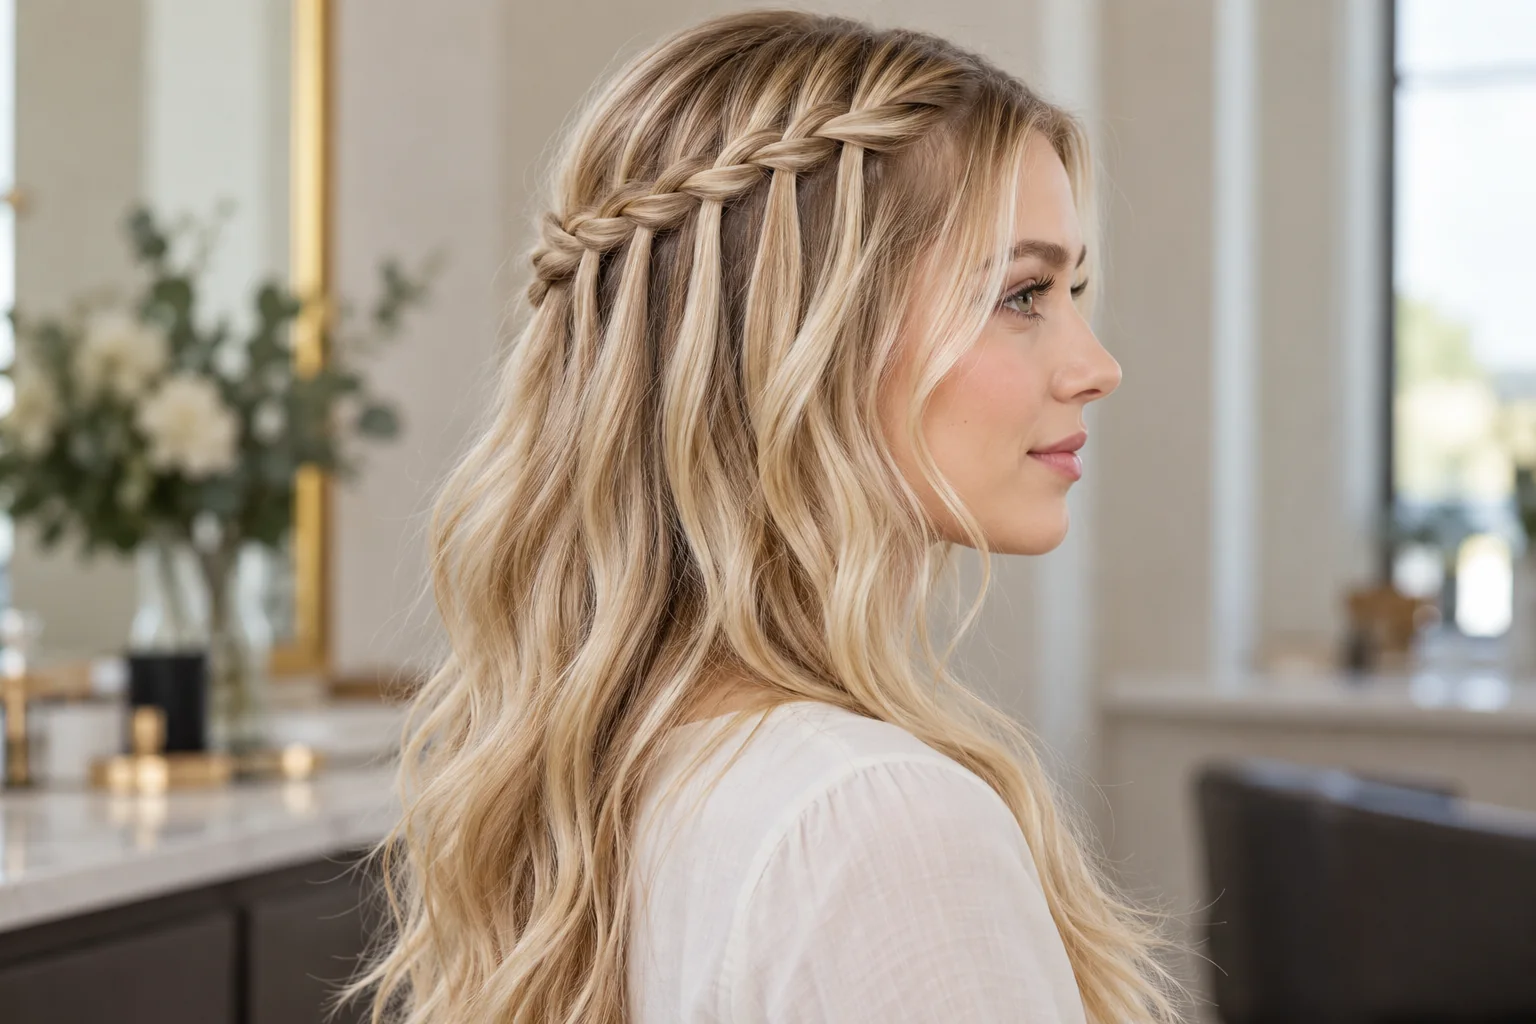
Use a deliberate drop-and-replace cycle
- Make the starter weave: cross the top strand over the middle, then the bottom strand over the new middle.
- Add at the top: join a small pickup from above to the current top strand, then cross that strand over the middle.
- Drop the bottom: release the strand now hanging nearest the ear. Let it fall with the loose hair.
- Replace it: pick up a fresh section from directly below the braid, keeping the dropped strand separate.
- Cross the replacement: bring the new bottom section over the middle.
- Repeat: add at the top, cross, drop the current bottom, replace and cross.
- Finish: stop where you can secure comfortably. End with a short ordinary plait and tie, or pin the end beneath an overlapping section.
Keep the fresh replacement distinct from the strand you just dropped. Accidentally picking the dropped strand back up removes the cascading effect. Pause after each cycle until the sequence becomes clear.
Keep the band where you want it
Hold your hands close to the braid route instead of pulling the working strands out toward the mirror. Look at the position above the ear after a few cycles. A downward angle may be intentional, but a braid that unexpectedly drifts is easier to correct early.
Use similarly sized top pickups and replacements. Very large sections can make the band bulky and the dropped pieces sparse. Very tiny sections increase the handling work. Choose a size you can repeat without tangling the hair underneath.
The braid should sit comfortably. Tightening hard at every crossing will not compensate for a missed replacement and can pull at the temple.
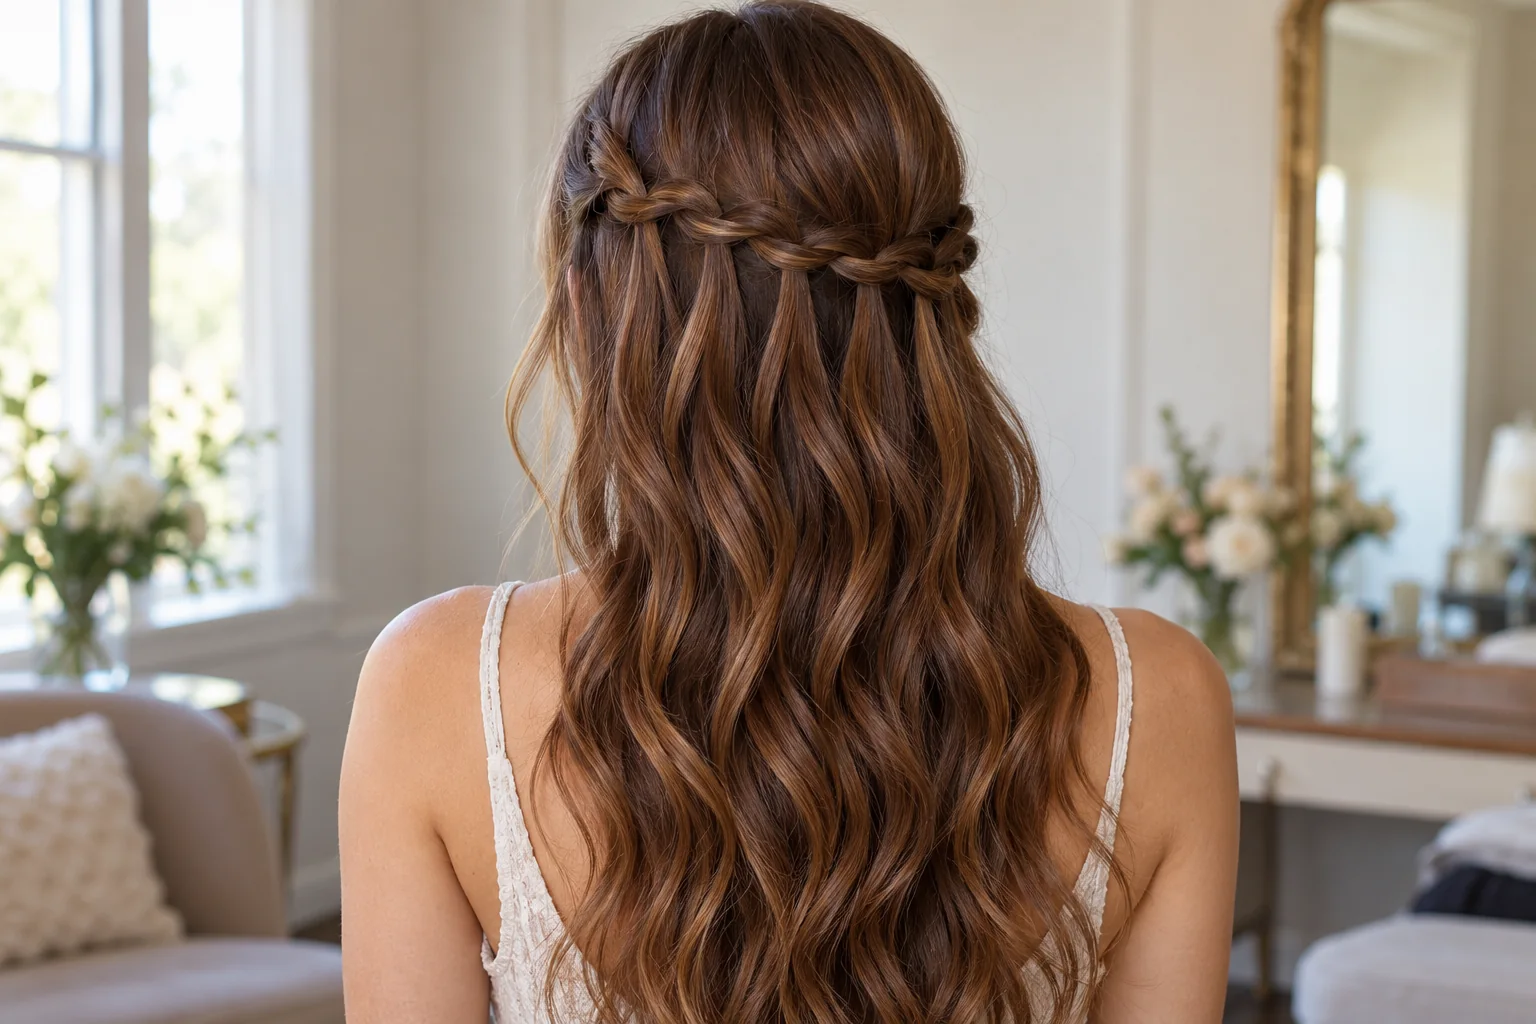
Troubleshoot the visible problem
- It looks like a normal French braid.
- Check that the current bottom strand is being released and replaced. Continuing with all three original strands makes a different structure.
- The dropped pieces keep getting caught.
- Place them clearly below the working route and choose fresh hair from just behind the last drop.
- The band sags.
- Keep your grip close to the last crossing and check the end support. Redo a short loose section rather than pulling the temple tighter.
- The loose hair tangles.
- Stop and separate the dropped lengths gently. Work a shorter route or practice on a smaller section.
- The end will not stay hidden.
- Finish with a small visible tied plait first. Concealing the end is an optional finishing skill.
Adapt the style without forcing short layers
A waterfall can be half-up, with most hair left down. On shorter layers, start where the pieces can reach the band and choose a shorter route. A small accent above one ear is a complete hairstyle.
On curls, decide whether you want to preserve the curl groups or separate them for a more defined weave. Use your normal gentle detangling method. You do not need to smooth away the natural texture to understand the drop-and-replace pattern.
When taking it down, release the tie or pins and undo the band backward. Separate the dropped sections before brushing the loose lengths.
Common questions
Which strand do I drop?
In this sequence, release the strand currently nearest the ear after the top strand has crossed. Replace it with fresh hair from below the band.
Do I need to braid around the whole head?
No. A short side accent is easier to practice and is a complete finish.
Can I curl the loose hair afterward?
You can choose your usual finish, but the braid does not require heat. Keep any hot tool away from pins, ties and the scalp, and follow its instructions.
Related guides
- How to French Braid: Hand Placement for Beginners
- Heatless Curls: A Wrap Method and Troubleshooting Guide
- Long Haircuts for Women: Layers, Shape and Maintenance
Sources and further learning
External references explain the underlying techniques or haircut terminology. The chooser is a starting point for practice or a salon conversation. Images are AI-generated references, not a documented step-by-step salon demonstration.













Leave a comment